Usage Guide
A detailed walkthrough of the Clever VPN dashboard, with screenshots from the real console. Click any screenshot to view it full size.
1. Dashboard Overview
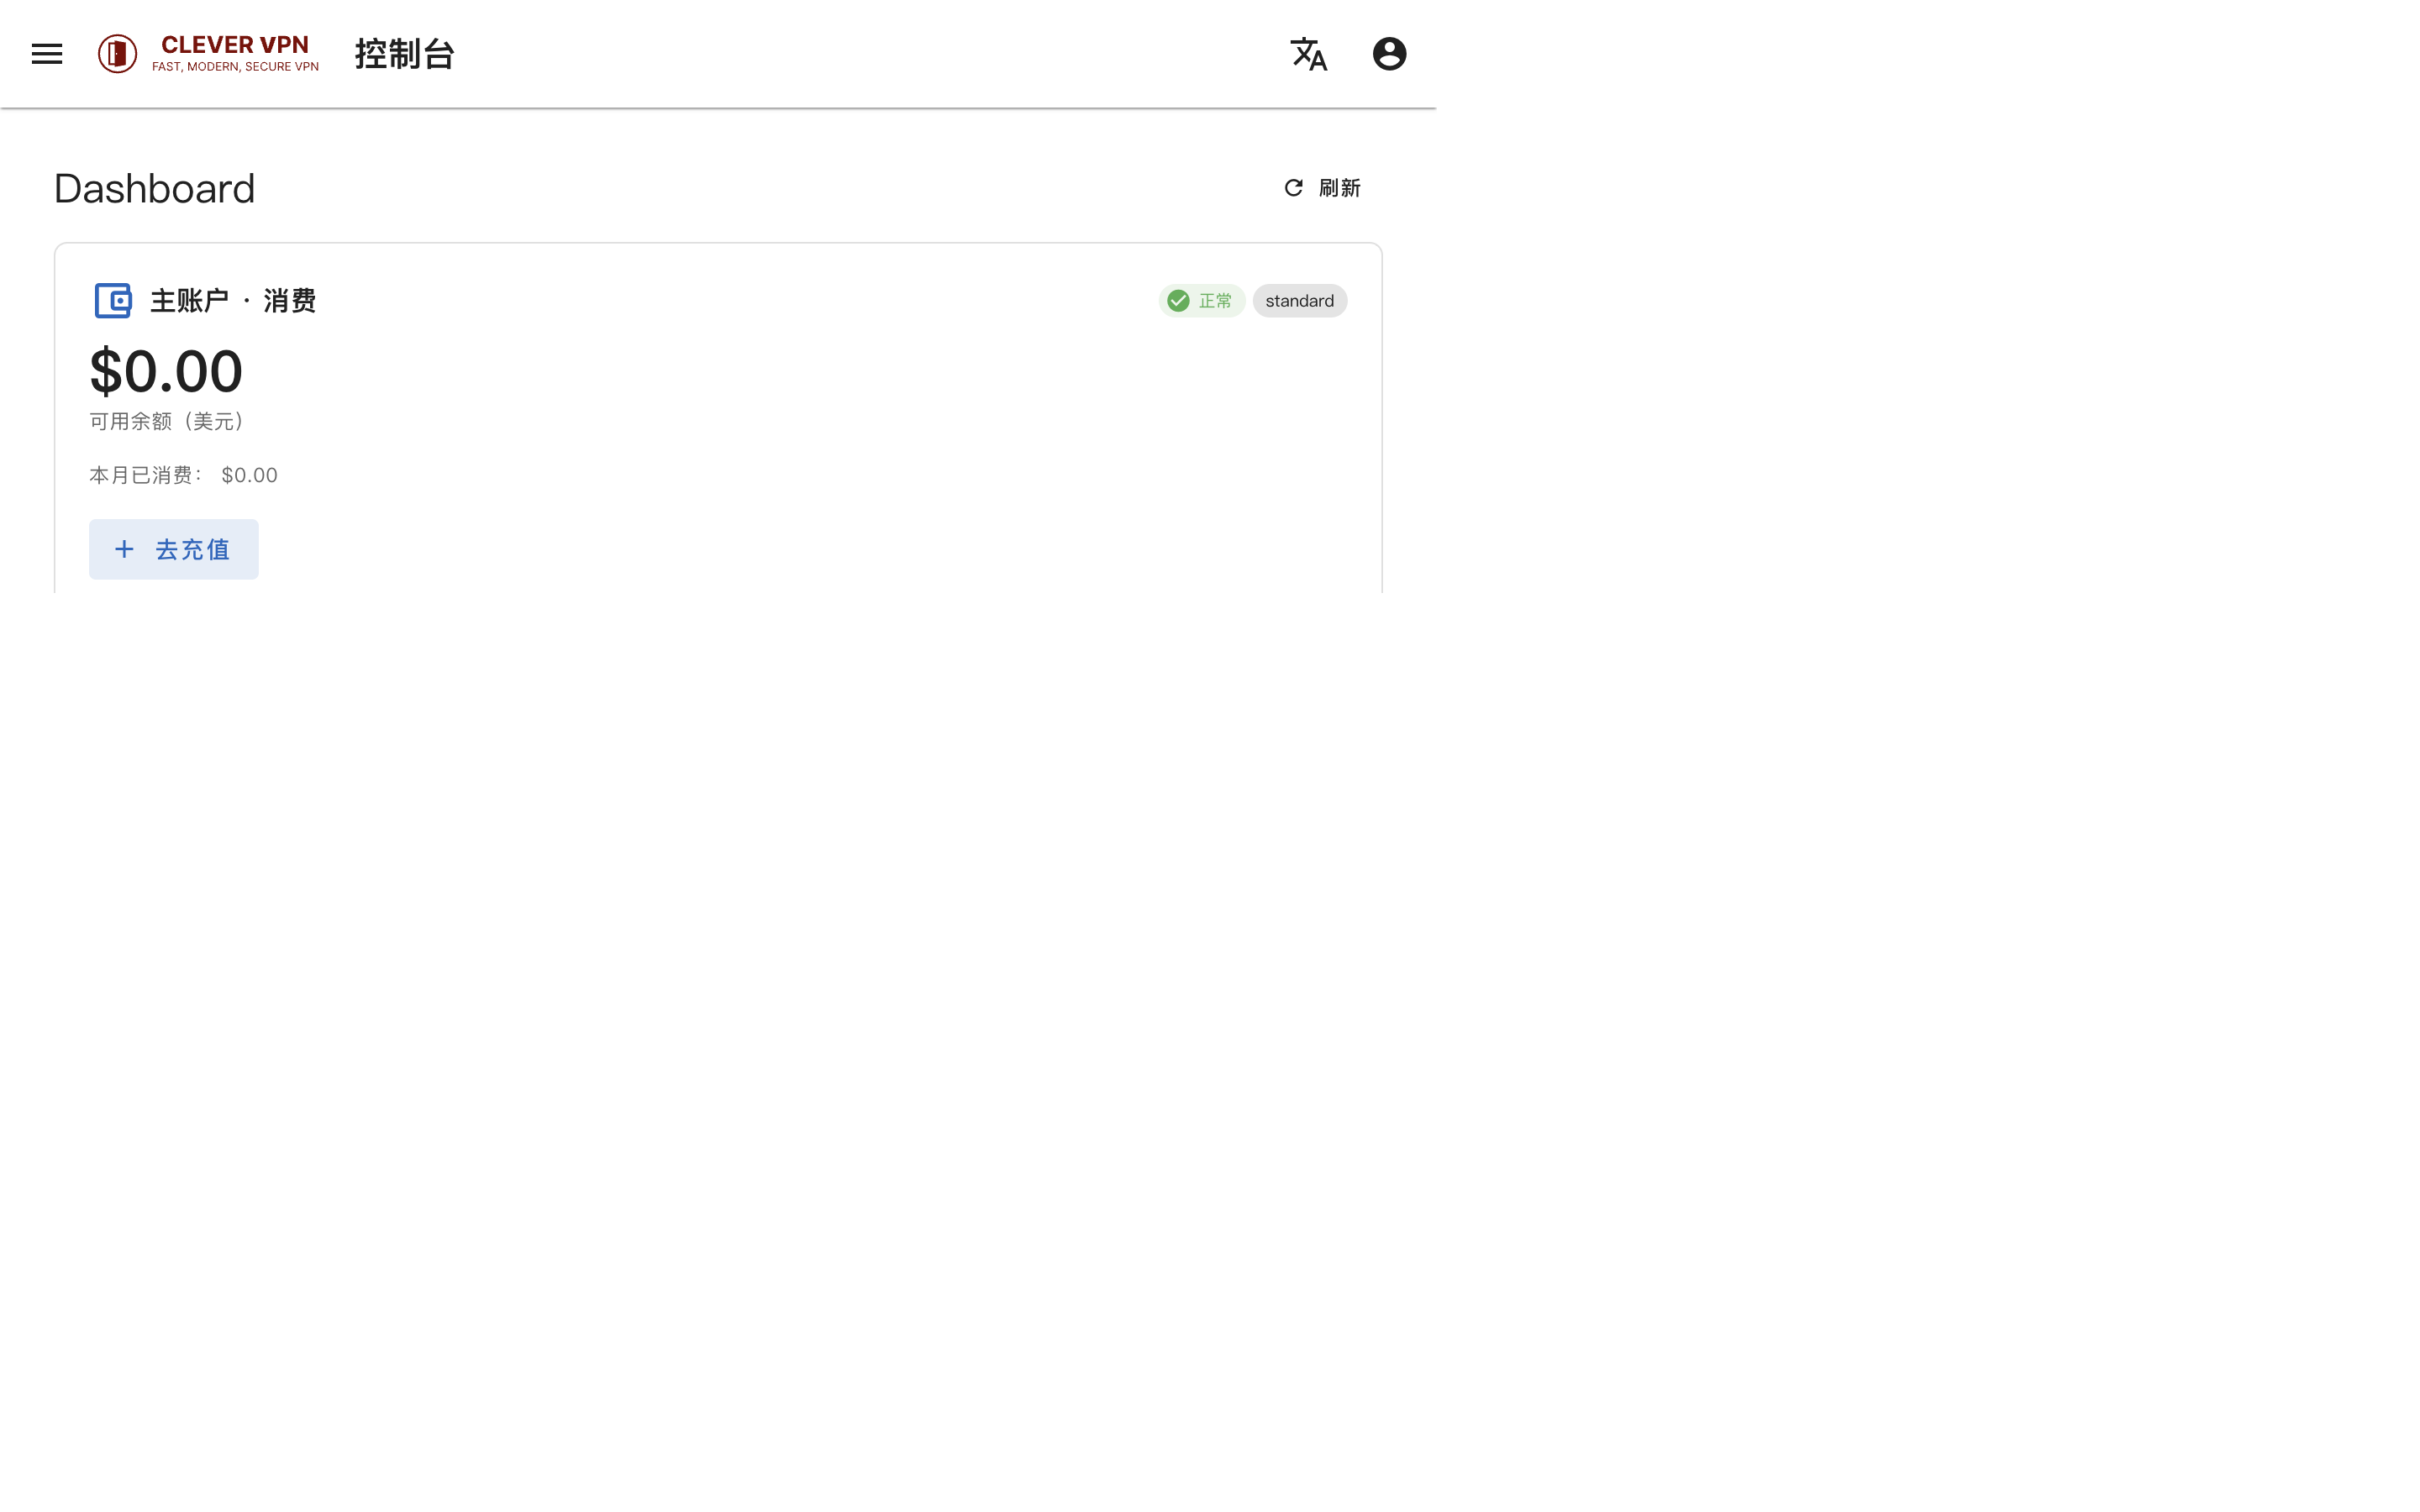
After signing in, the dashboard home shows you at a glance:
- Account balance — available balance and current-month charges
- Earnings account — referral balance, withdrawable and total earnings
- Resource stats — server / user / device counts and online status
- Quick actions — create server, create user, top up, withdraw, labs
2. Server Management
Create a Server
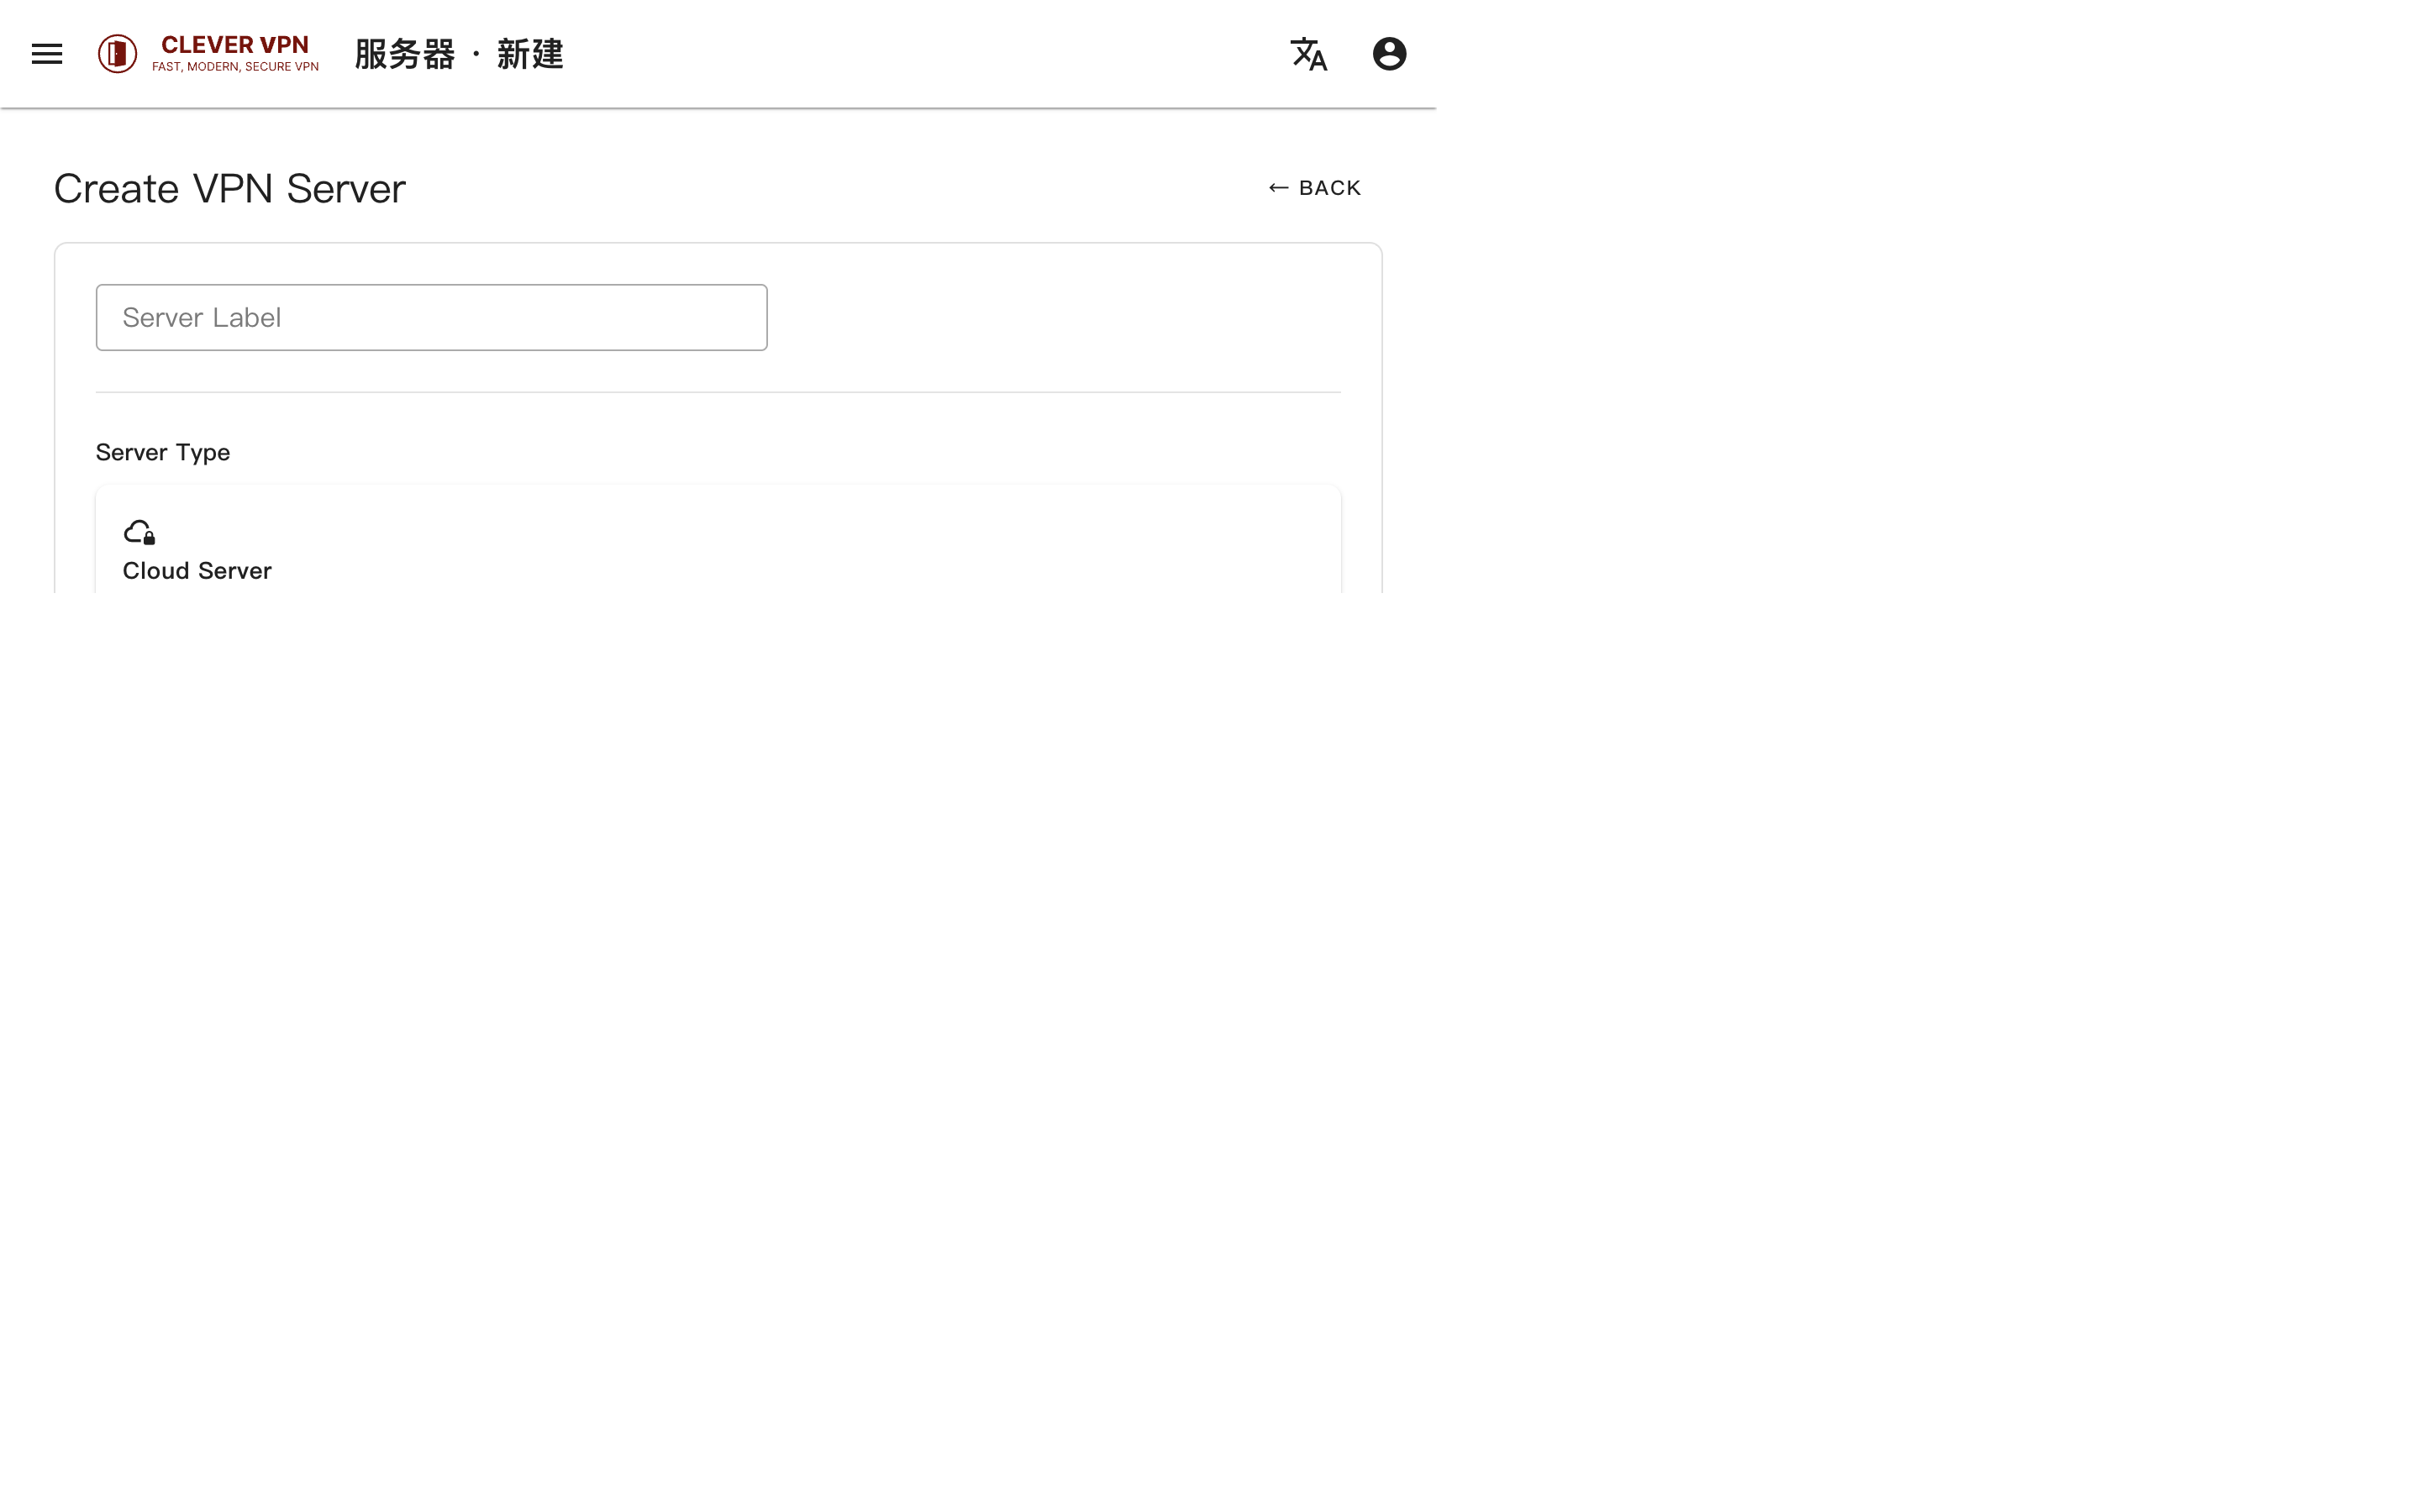
Open “Servers → New” in the sidebar:
- Choose the server type: Cloud Server or Bring Your Own Server
- Cloud server: pick provider, region and plan — installation is fully automatic
- BYO server: use your own Linux server (kernel 5.6+); copy the install script and activate in one command
- Choose the server role: VPN server (protocol connection) or relay server (traffic acceleration)
- Assign a site (country/region), bind lines, set the port and max connections
Server List
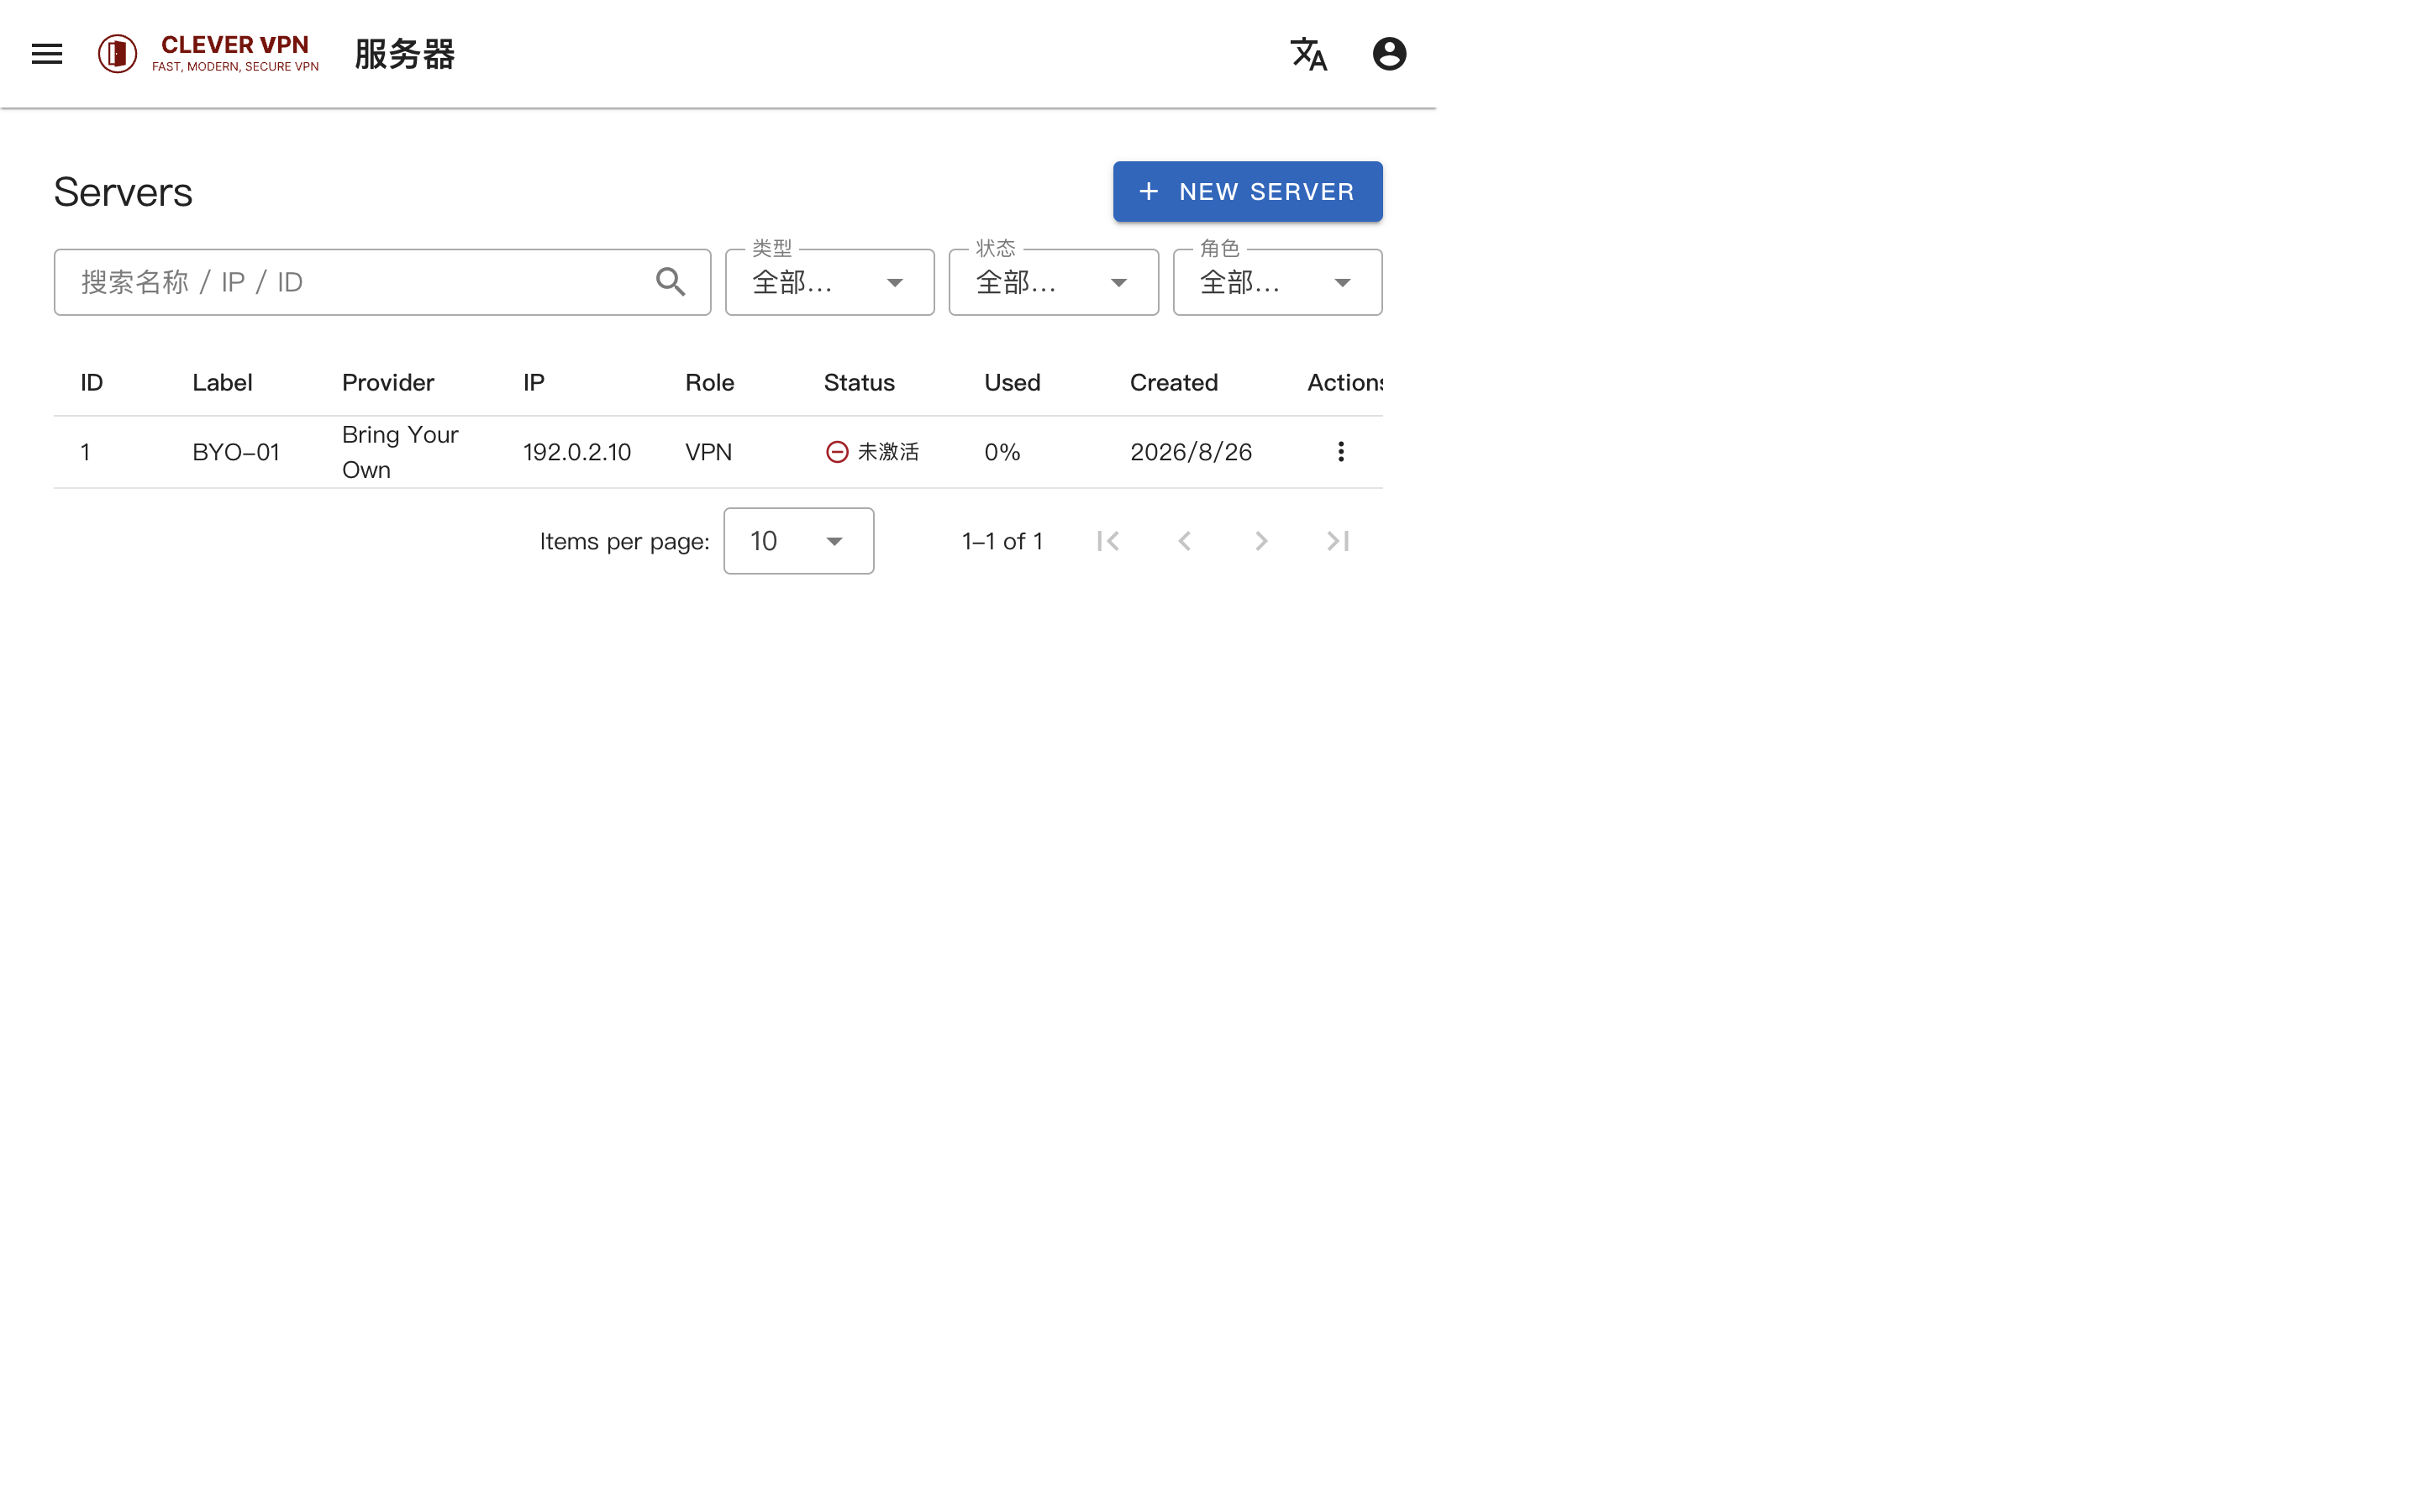
In “Servers”, view and manage all servers:
- Filter — by type (cloud/BYO), status, role (VPN/relay), region
- Monitor — usage, connections, load, memory, CPU, disk per server
- Actions — row menu supports refresh, restart and delete
Server Detail
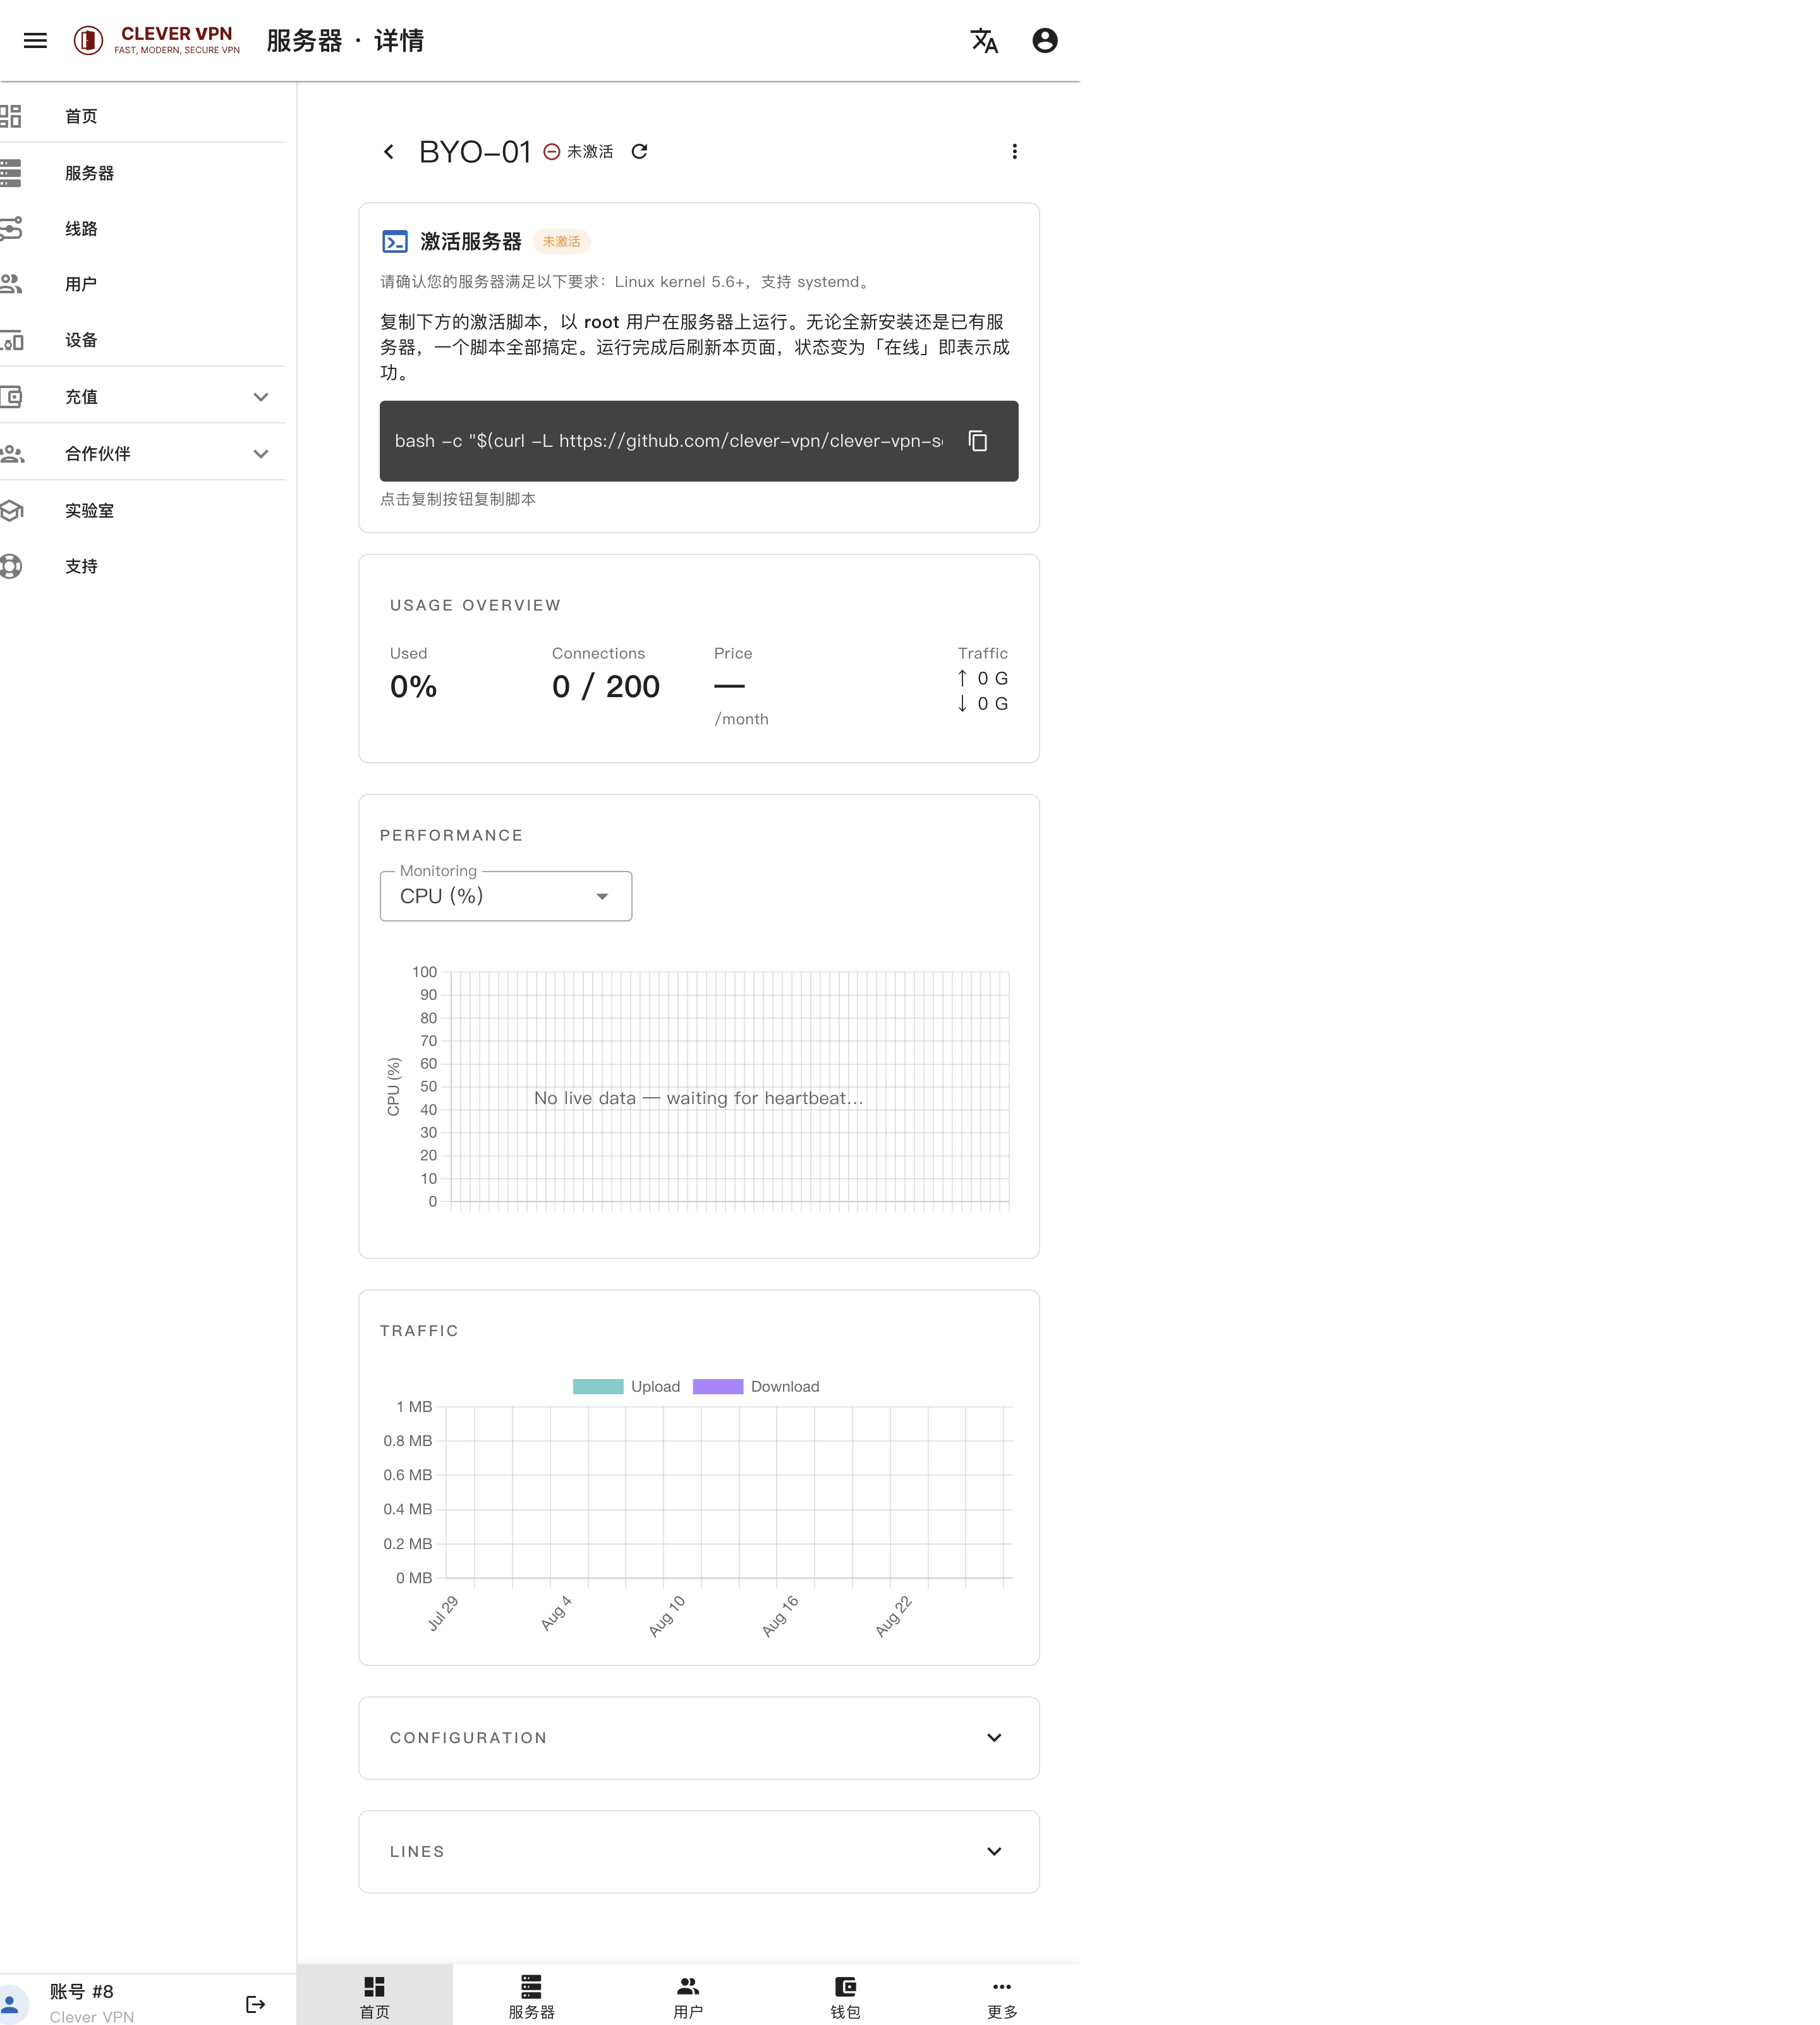
Click a server to open its detail page:
- BYO not activated — the install script is shown; run it as root and the status turns “online”
- Usage Overview / Performance — live usage, connections, price and traffic
- Configuration / Lines — view and edit configuration and bound lines
Line Management
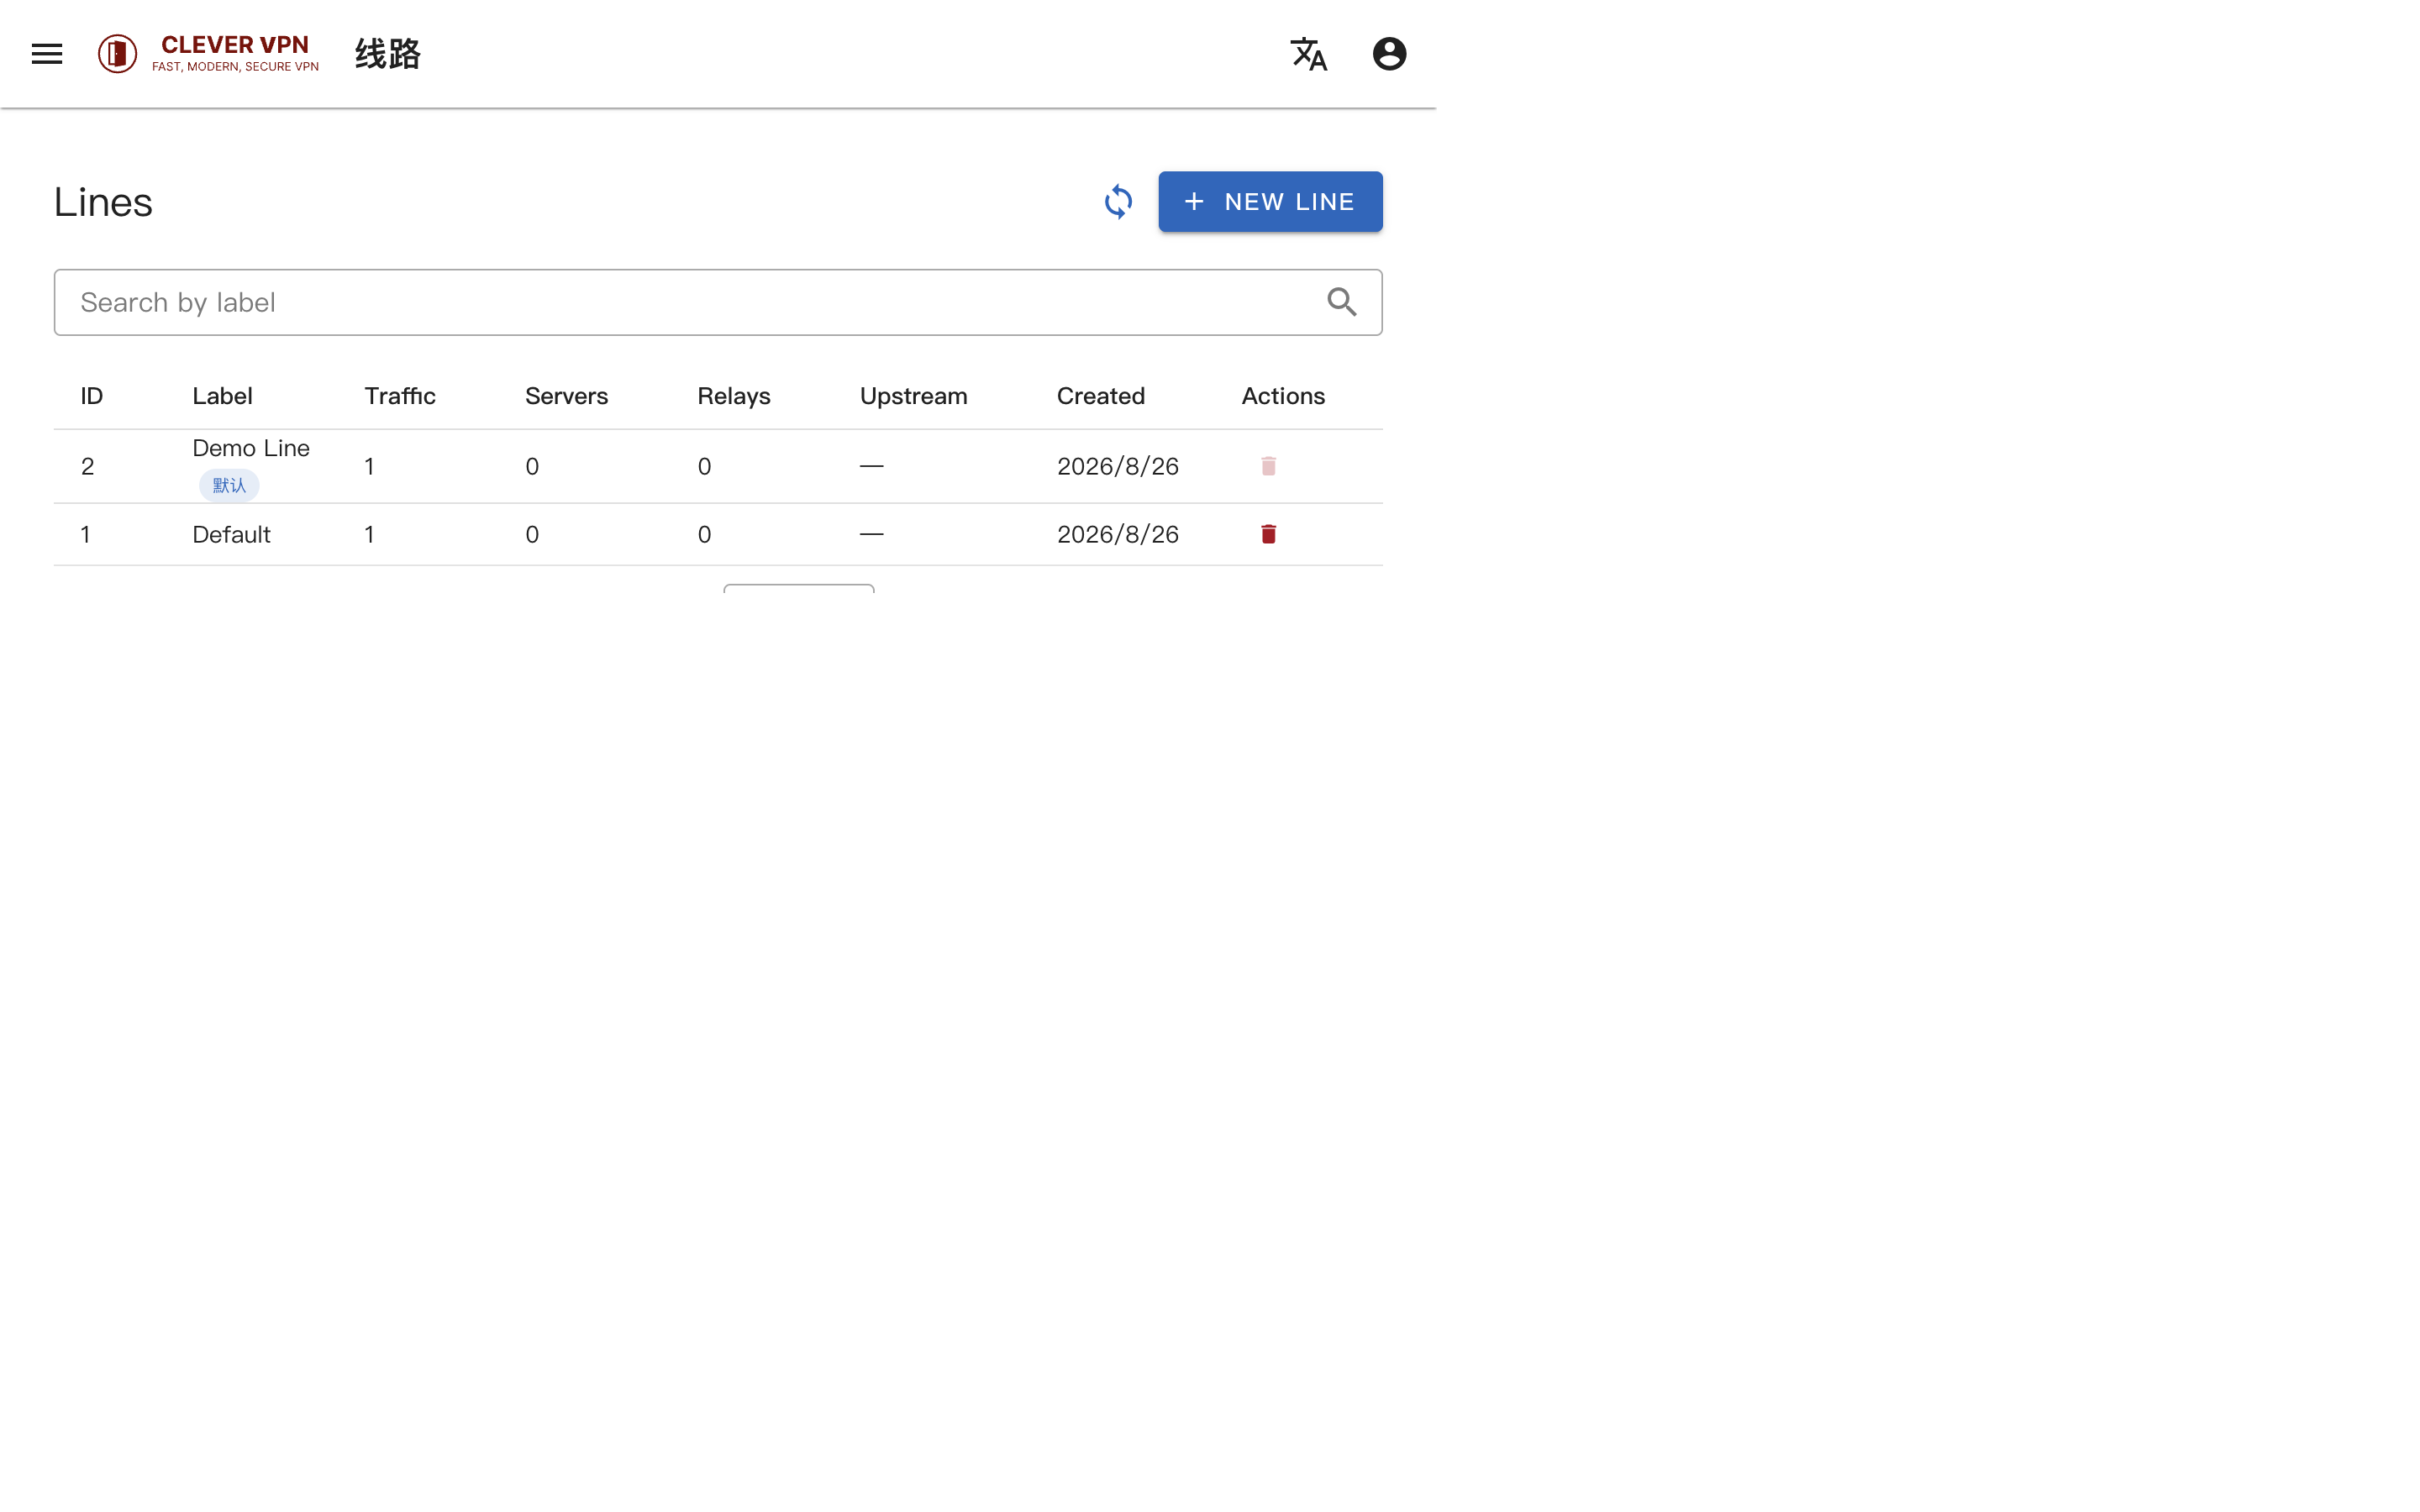
A line is made of VPN servers (+ relays) and is the entry point users connect to. In “Lines”:
- Click “New Line” to create a line and bind servers
- Each line shows: traffic, server count, relay count, upstream verification
- Star a line to make it the default line for new users
- Inline-edit line names
3. User Management
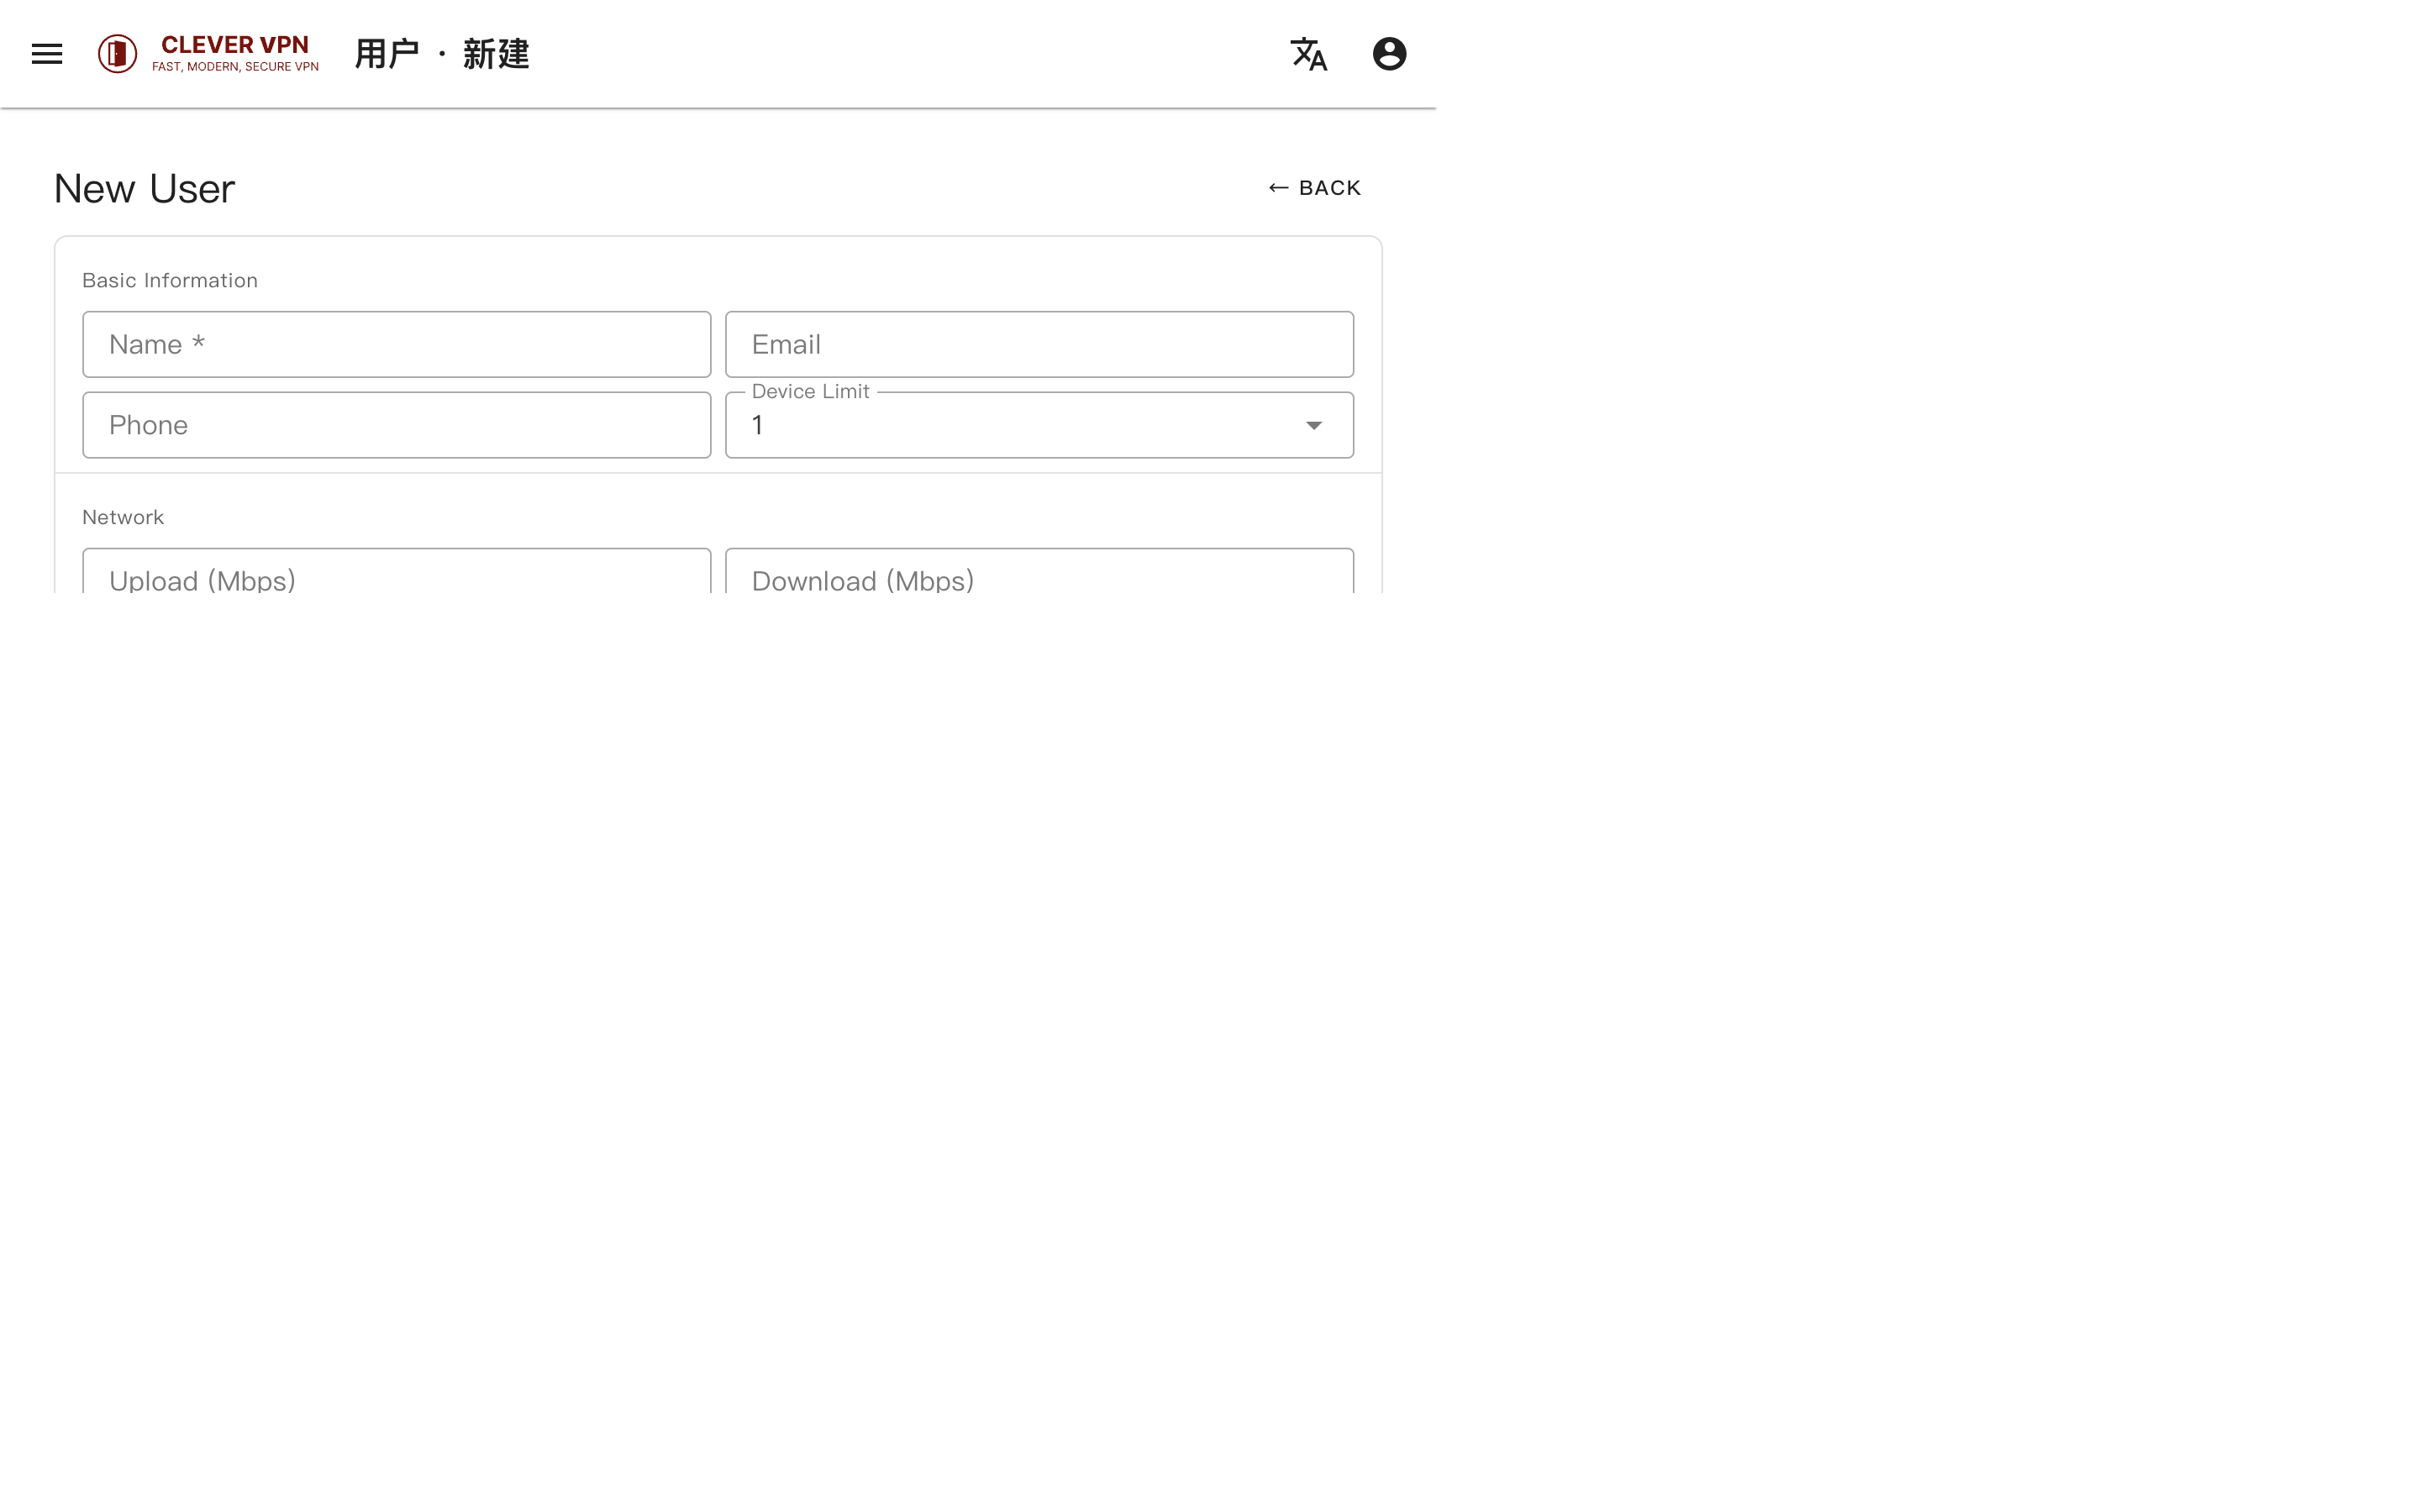
Create a User
Open “Users → New” in the sidebar: choose the user type (number of devices); each user gets a unique activation code automatically. Defaults are fine to start.
User List
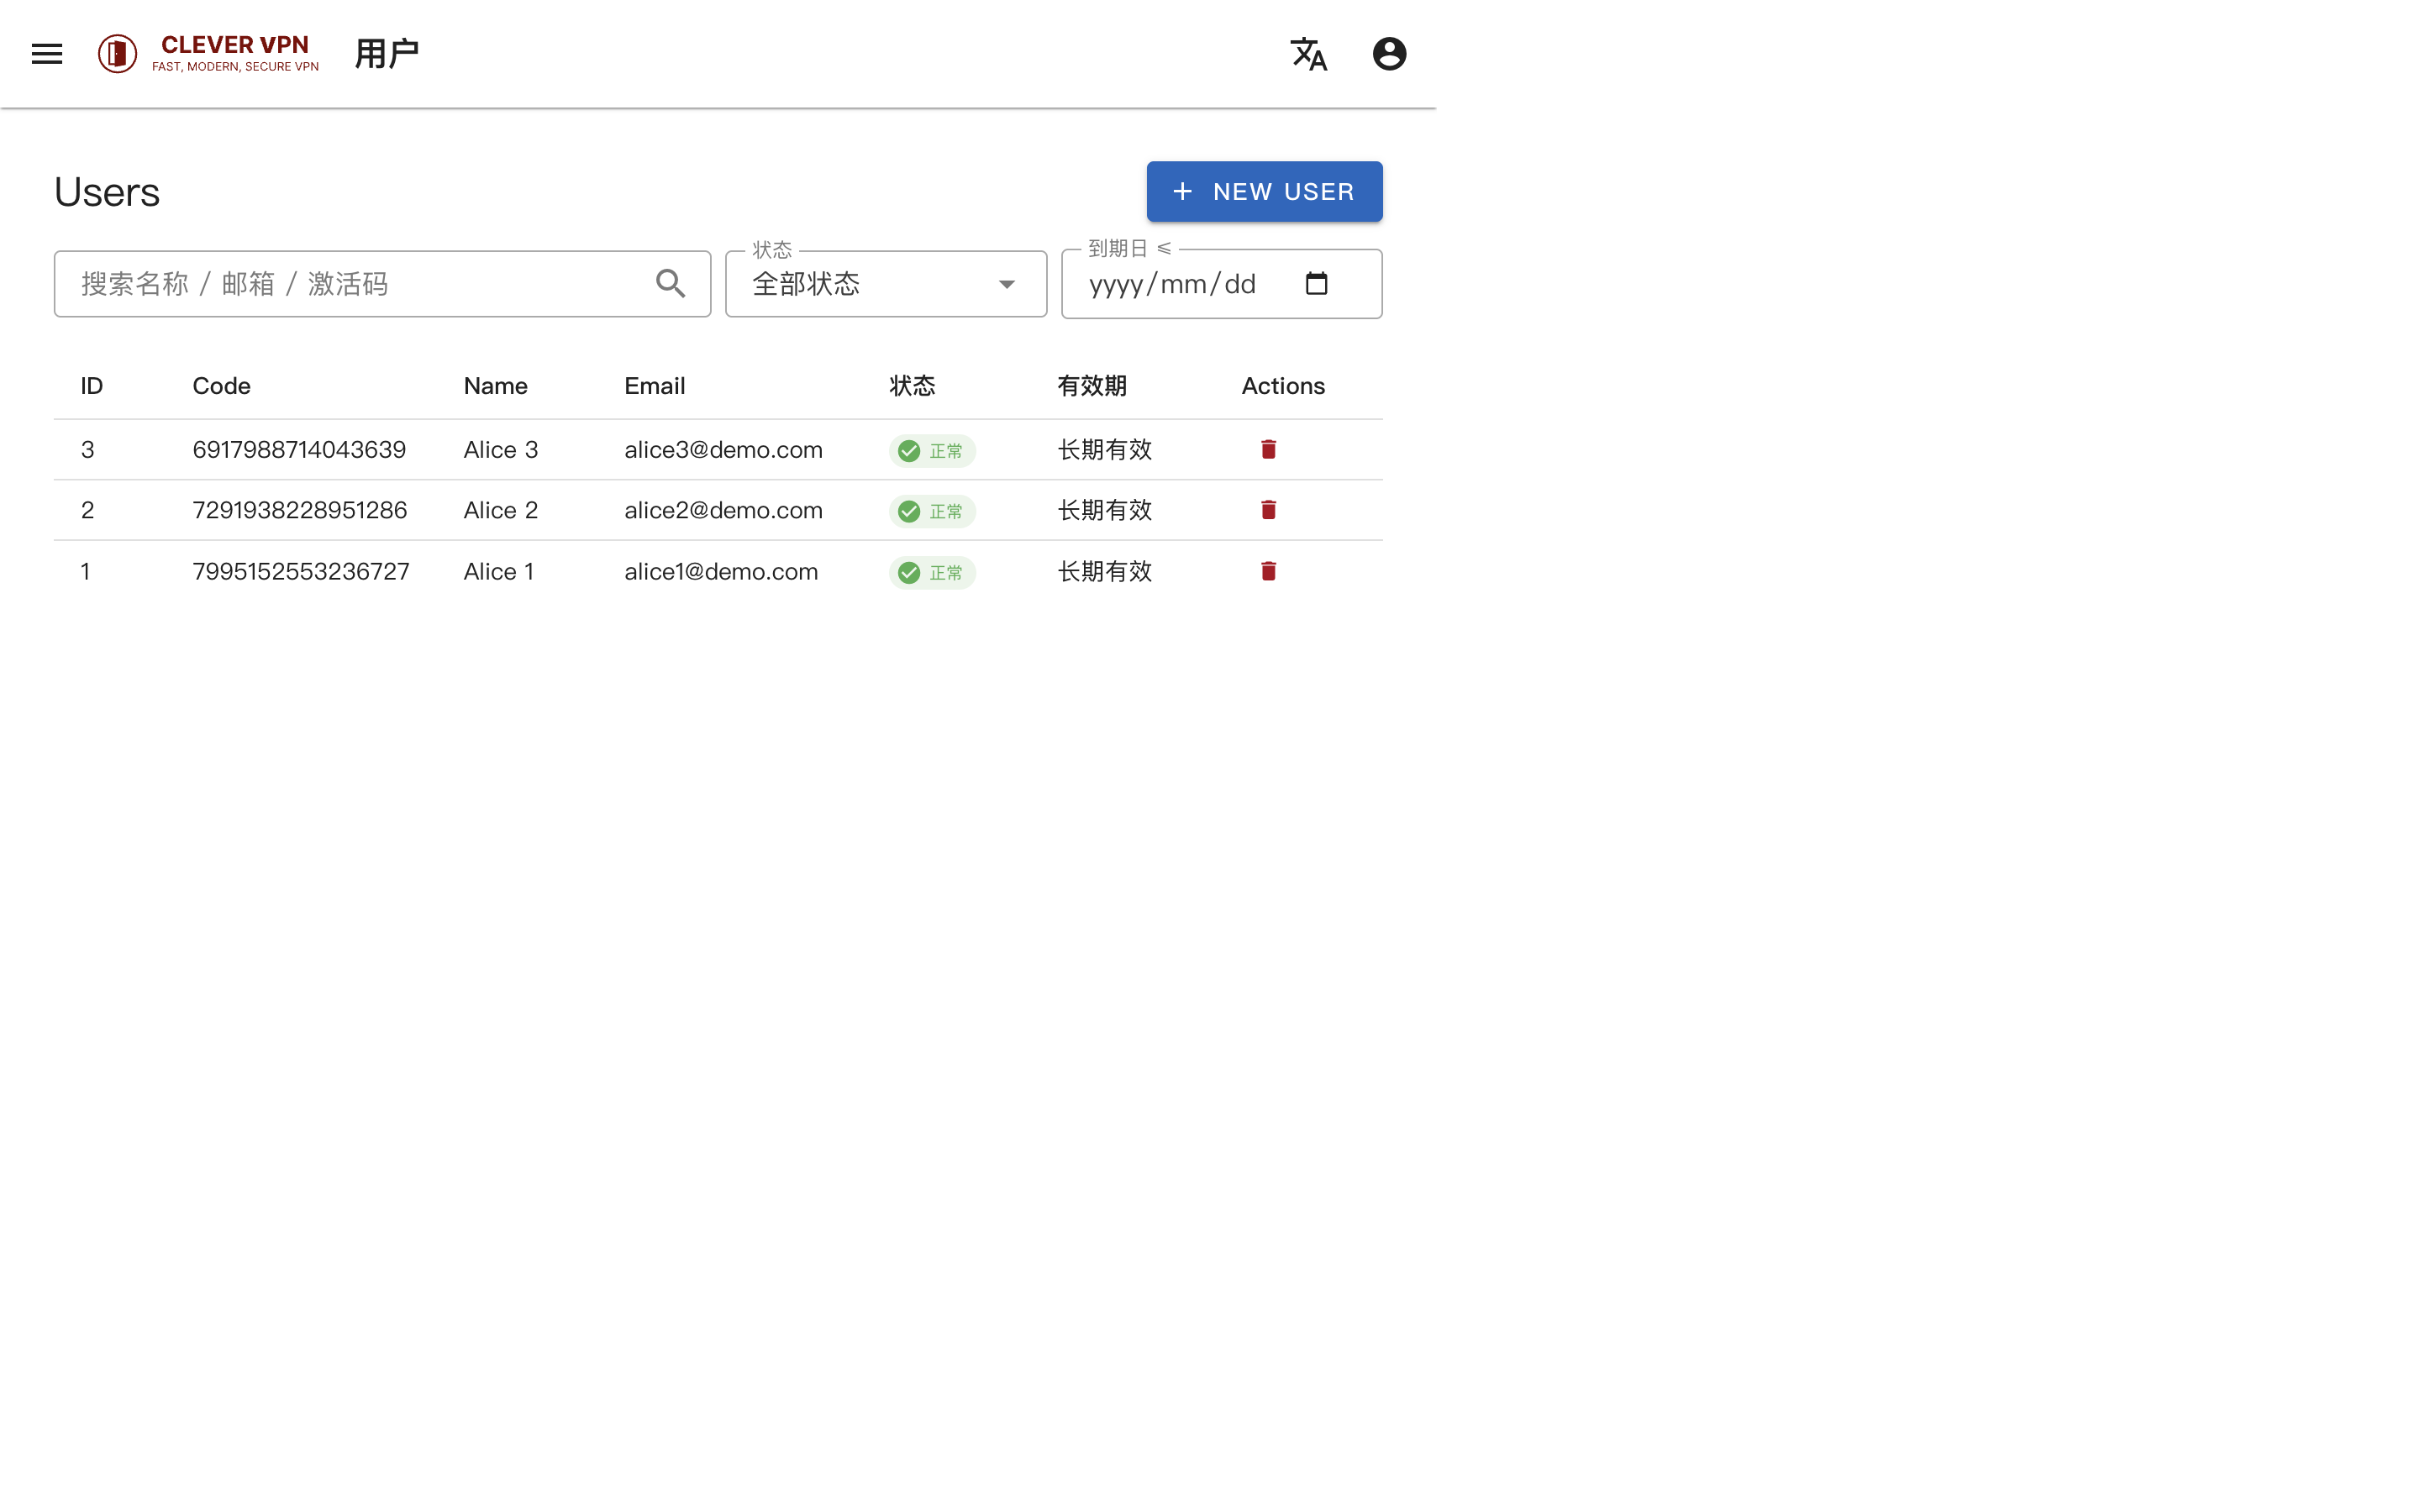
In “Users”, manage all users:
- Filter — by name, email, phone, status, expiry
- User detail — enable/disable, traffic quota, expiry, freeze; view bound devices and usage
- Batch actions — download and share activation-code QR codes
Device List
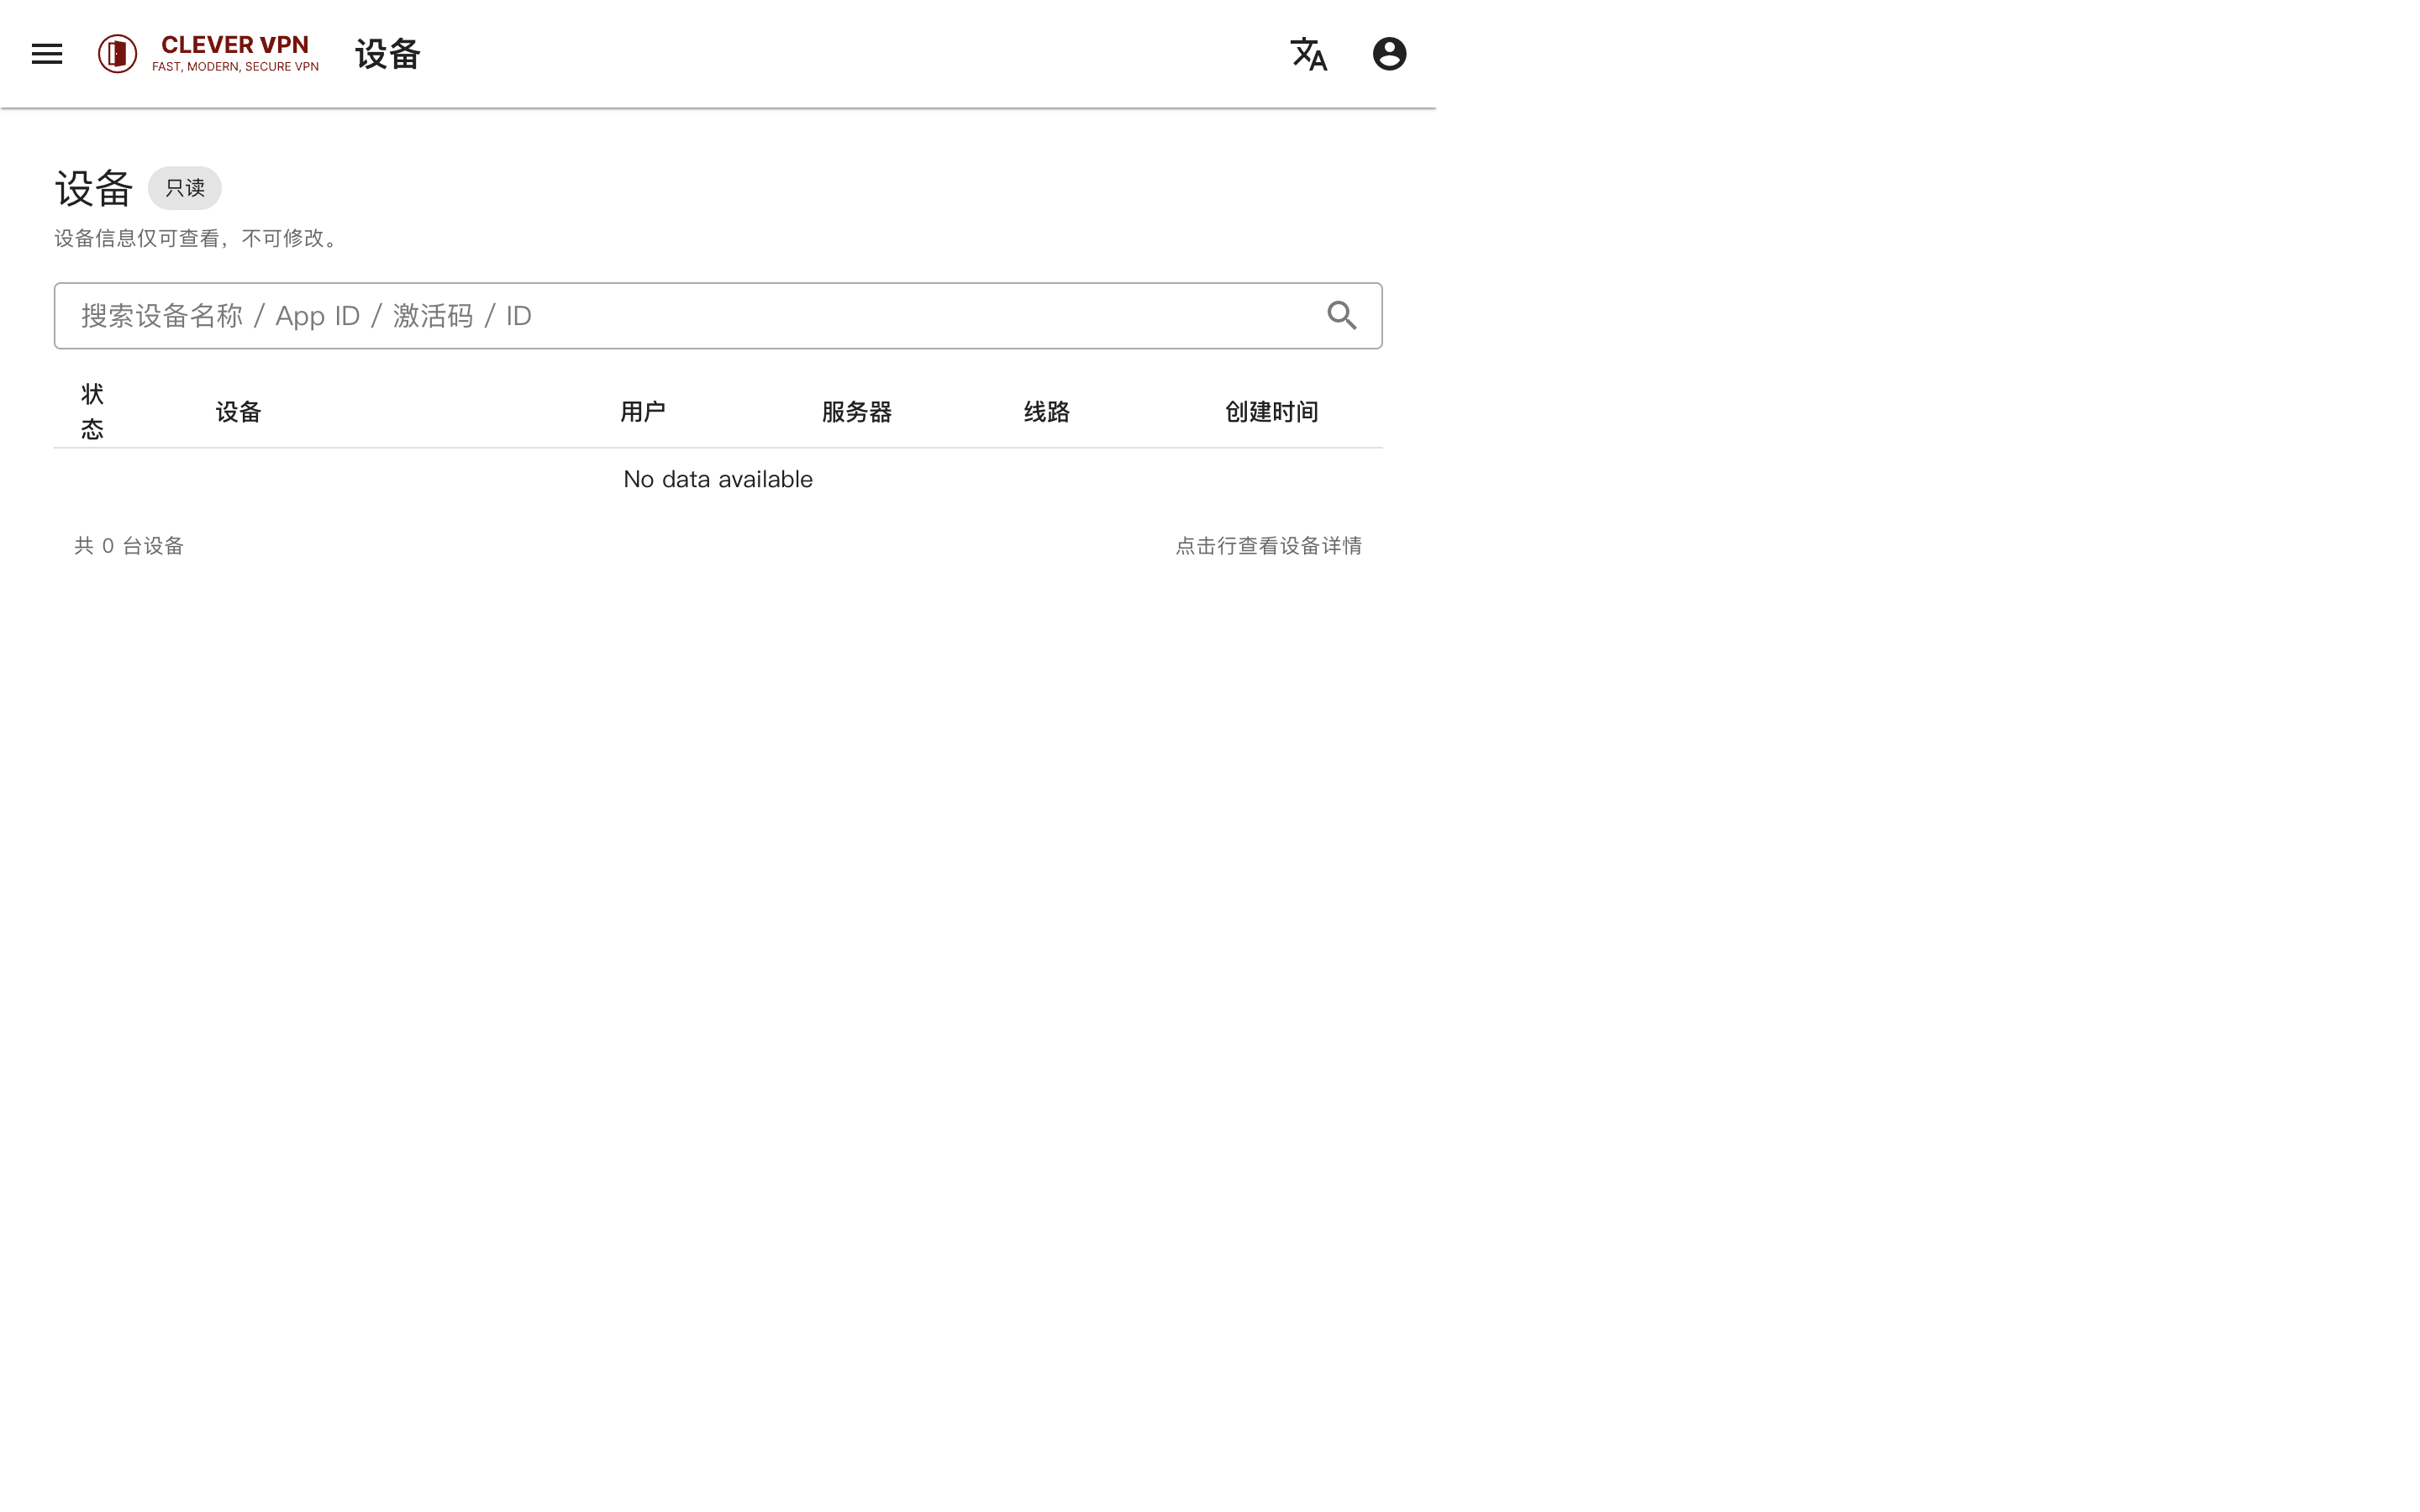
In “Devices”, view all bound app devices: status, device, owner user, server, line and created time (read-only).
4. Account Settings
Profile
“More → Profile” lets you edit your basic info.
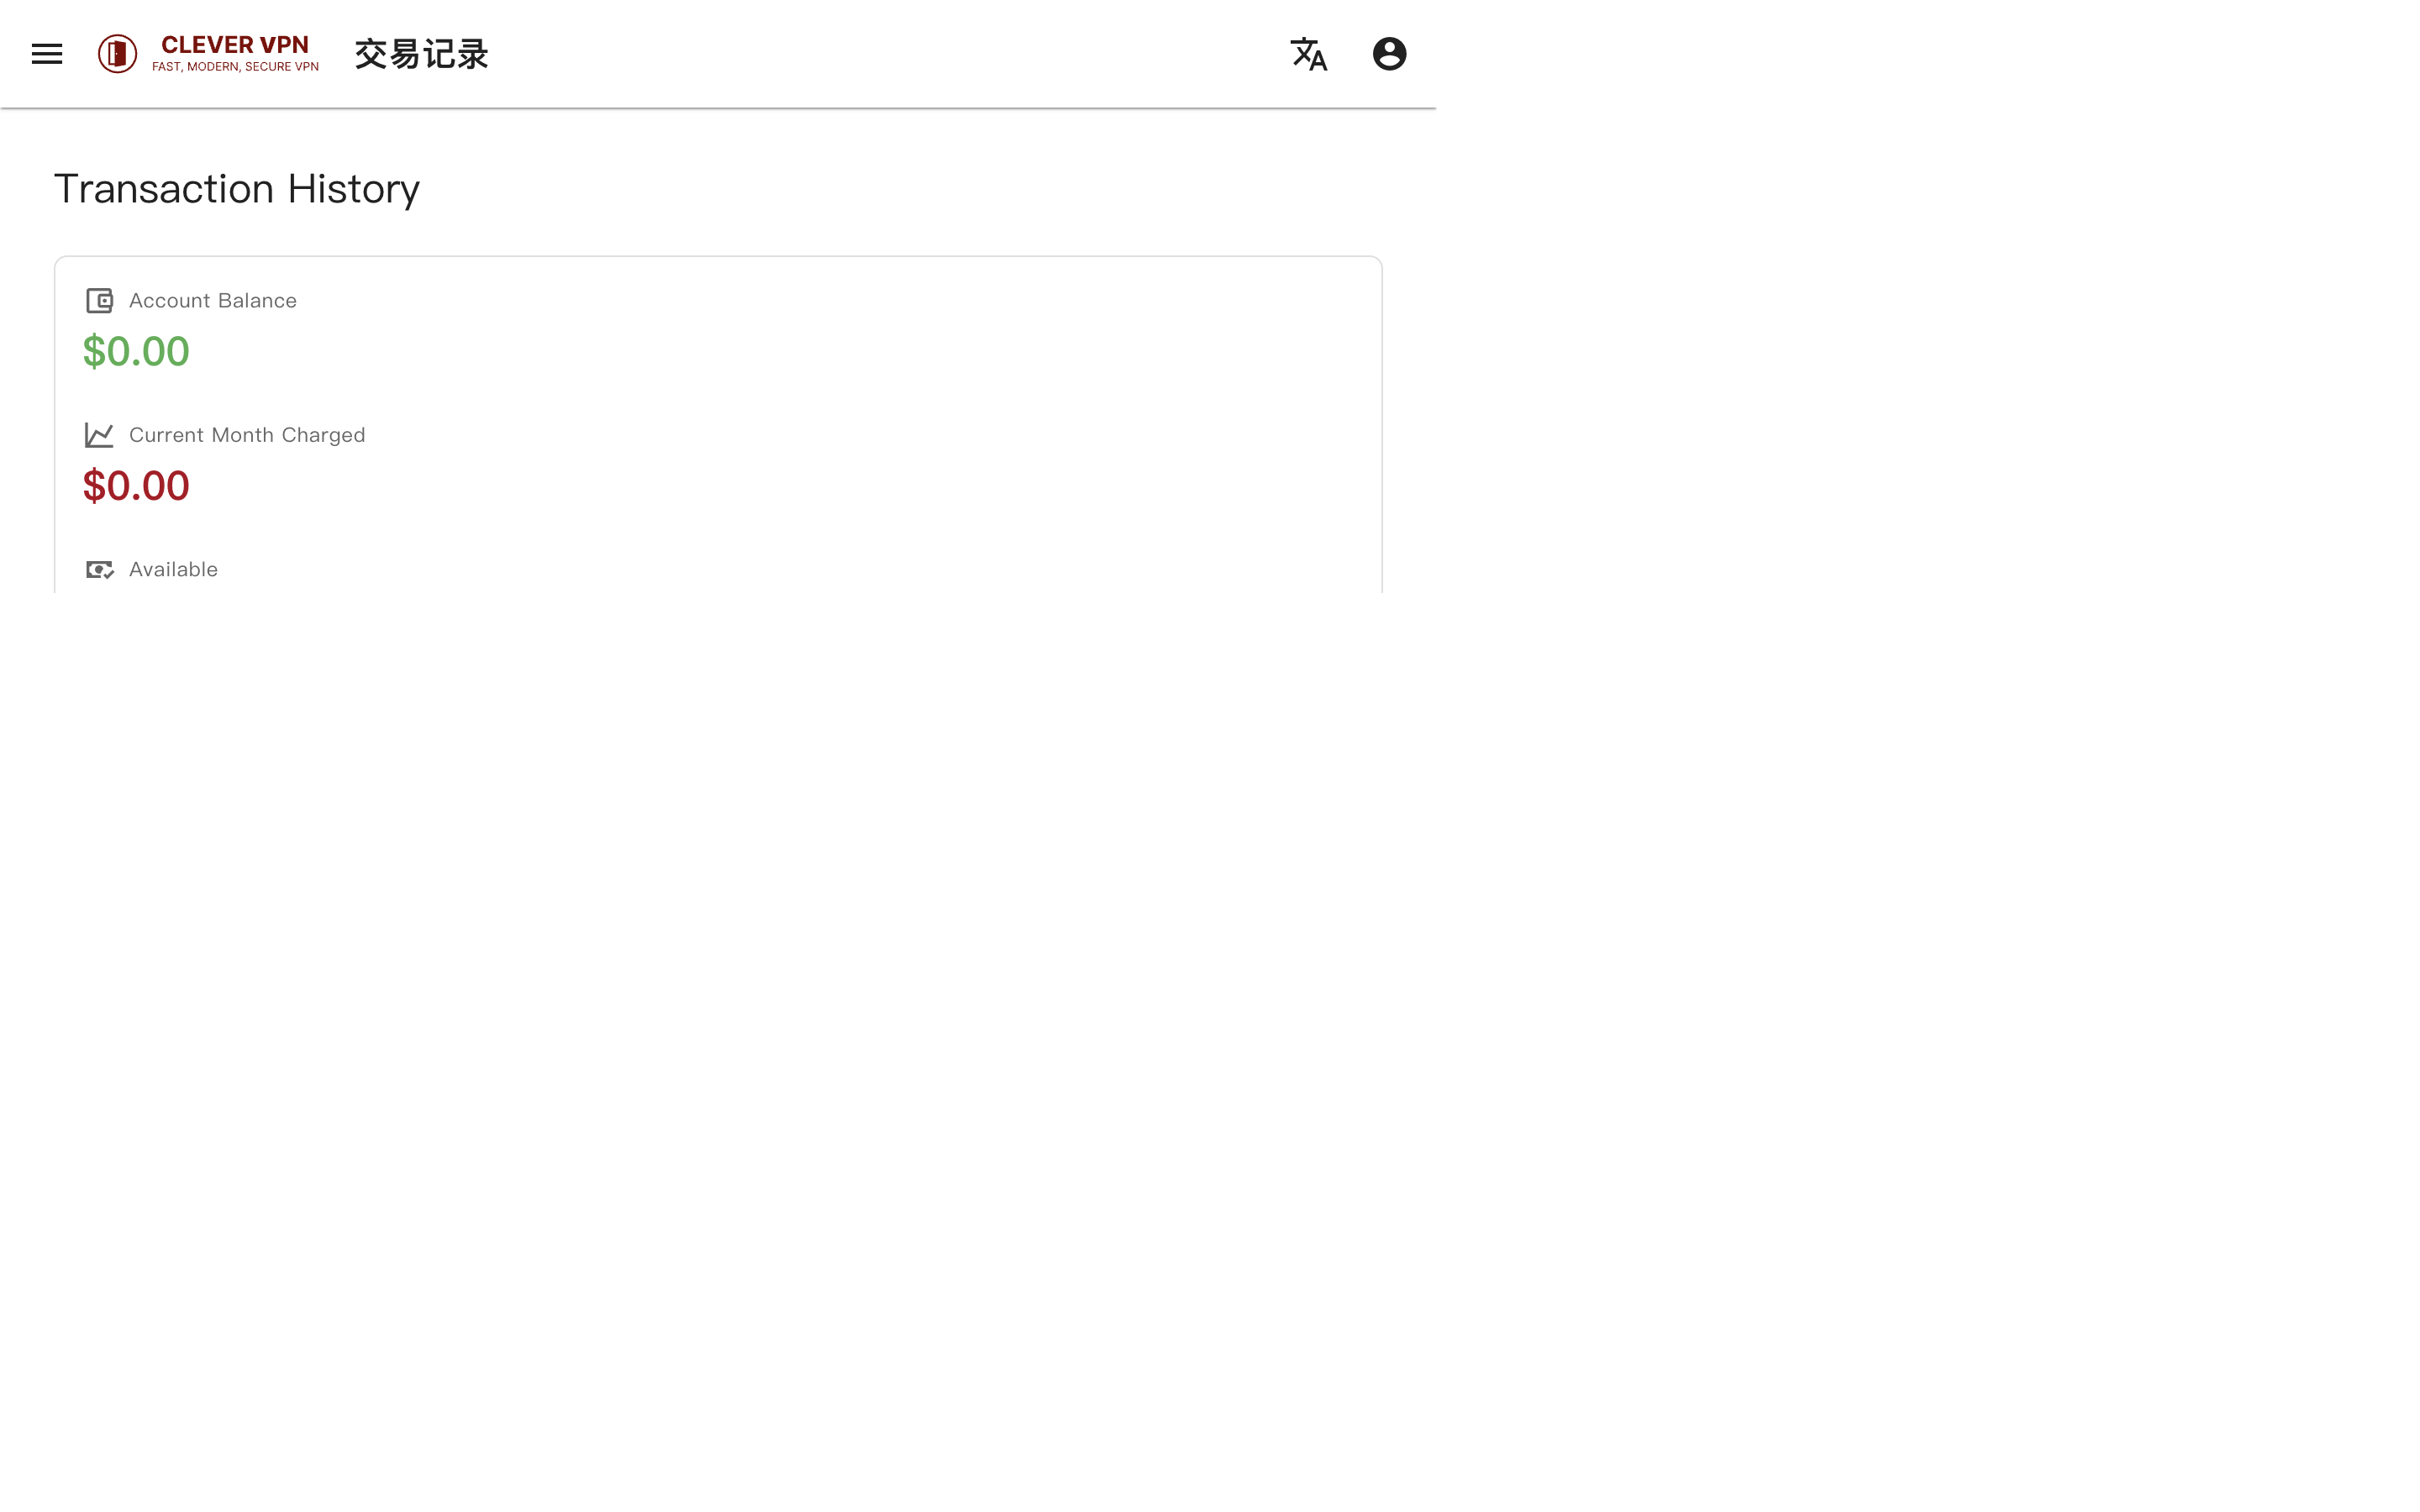
Billing & Ledger
“Account → History” shows all transactions: top-ups, charges and invoices.
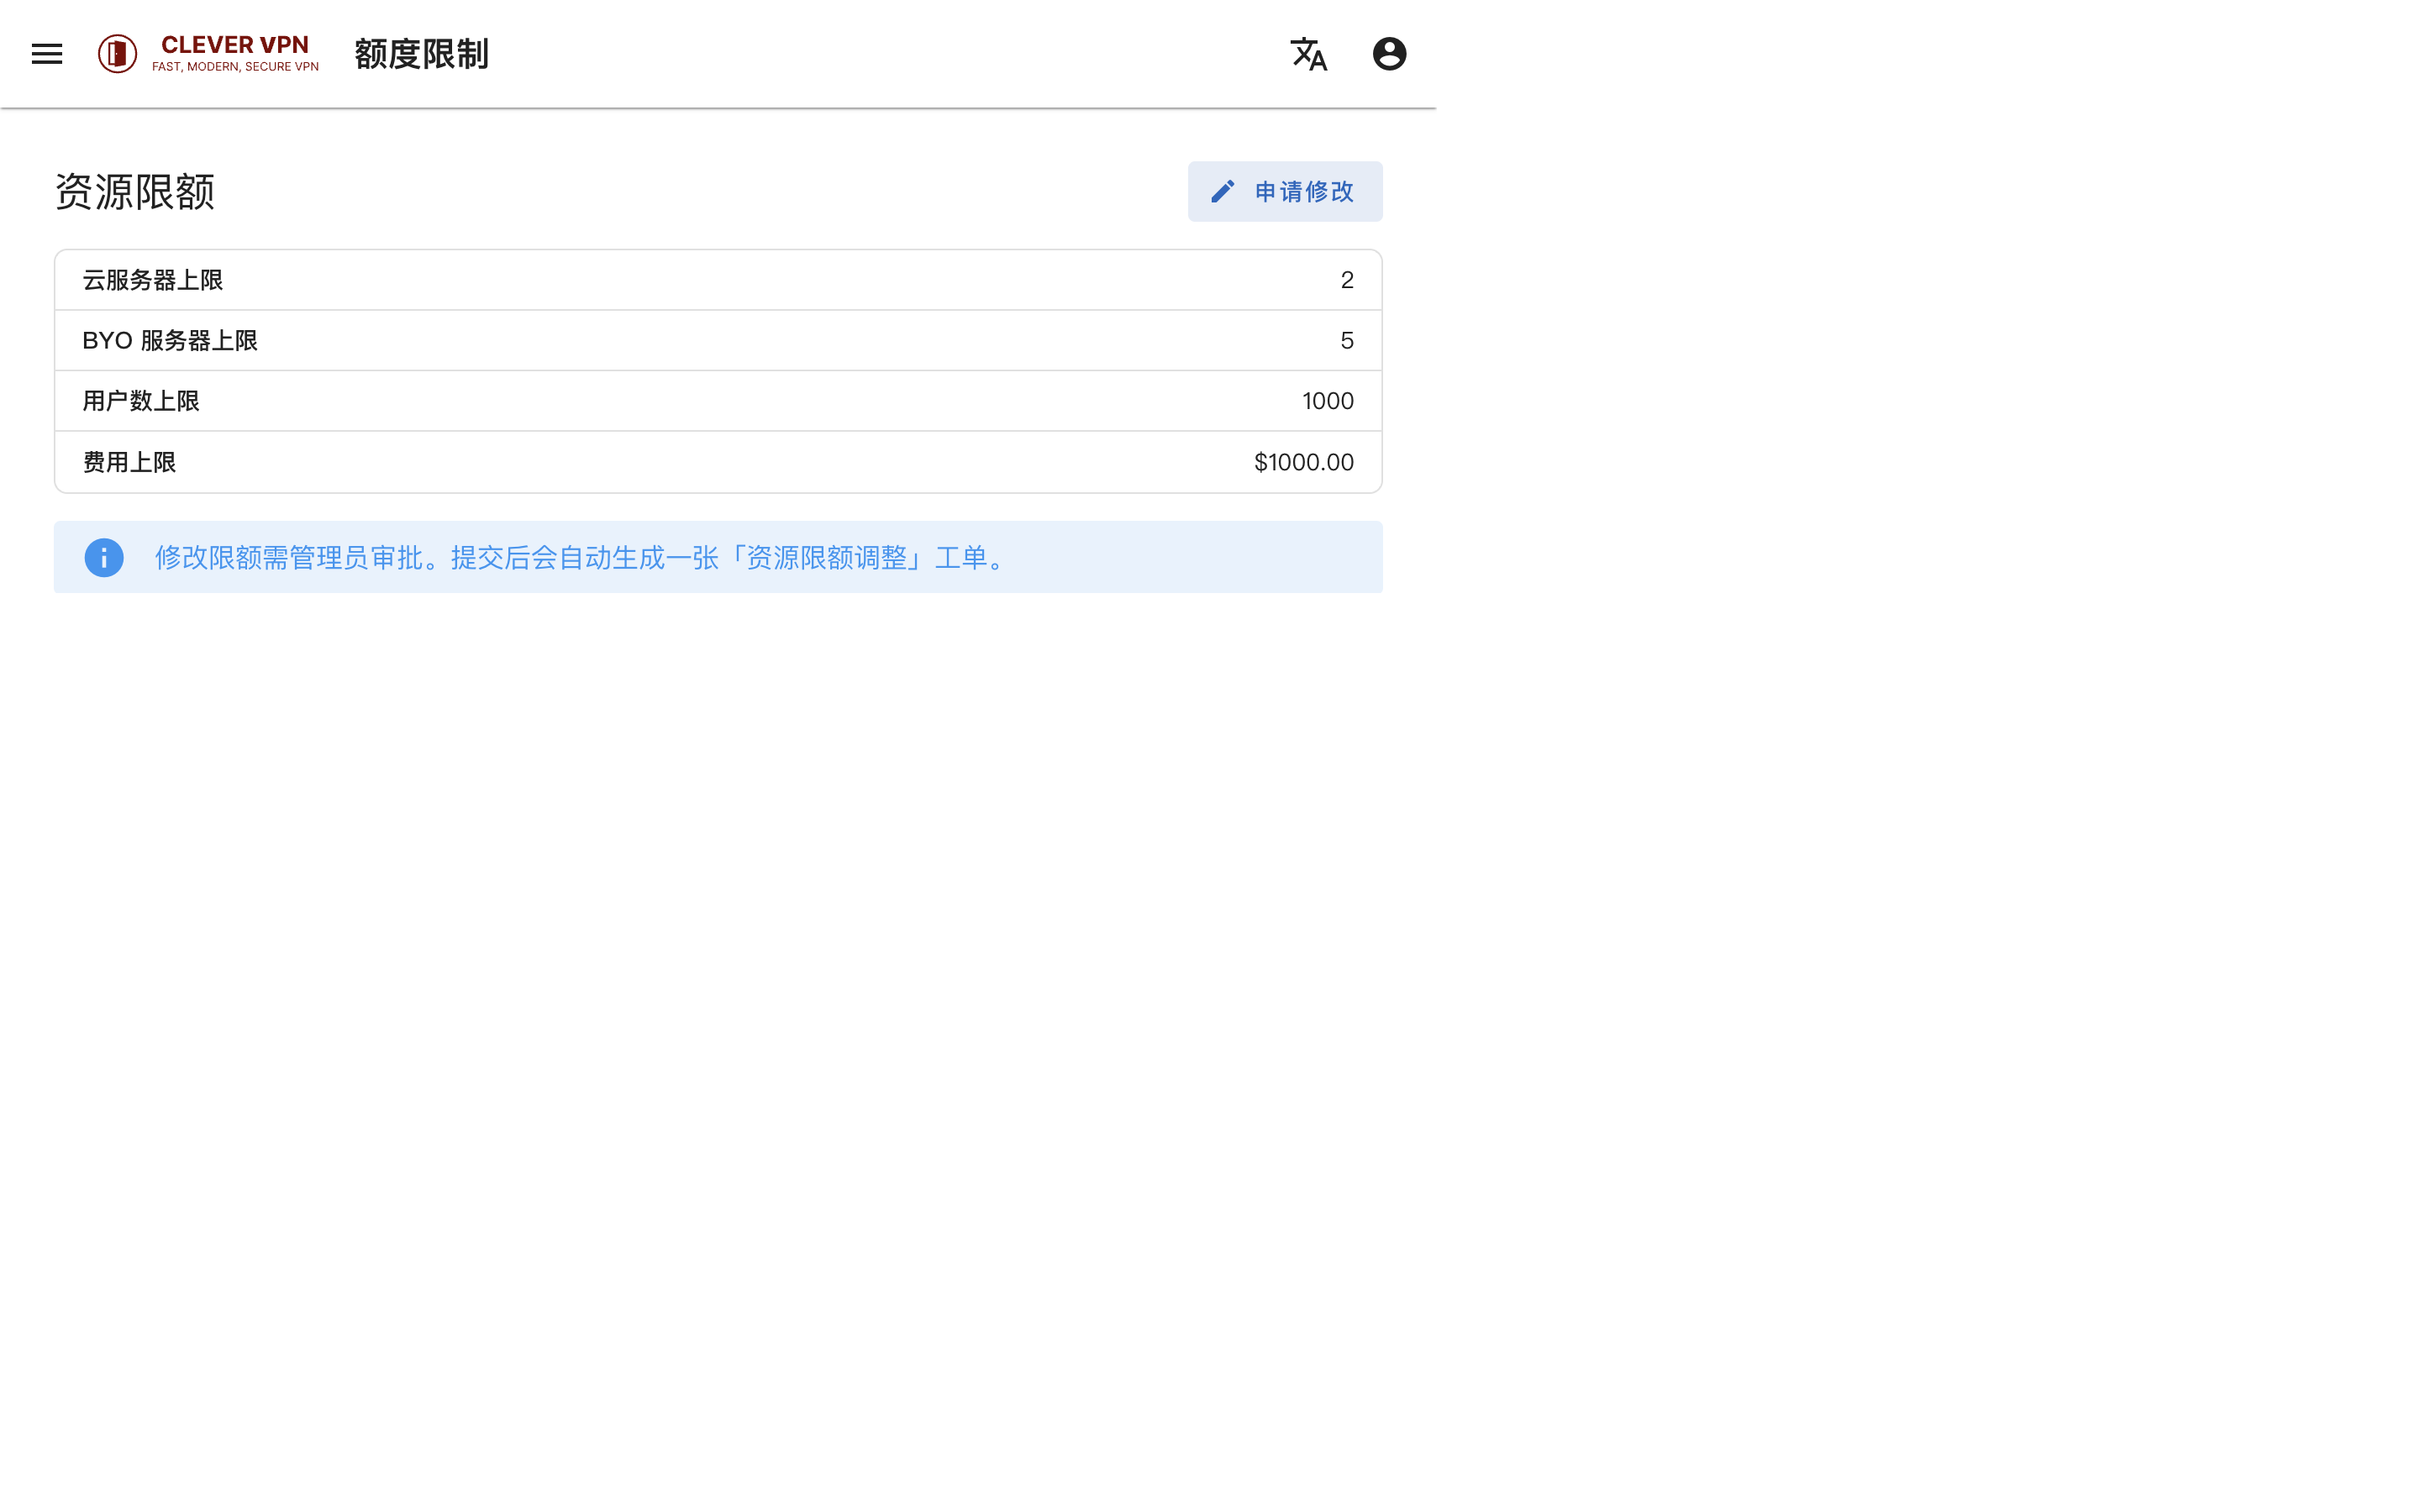
Resource Limits
“Account → Limits” shows your quota caps, e.g. number of servers and users.
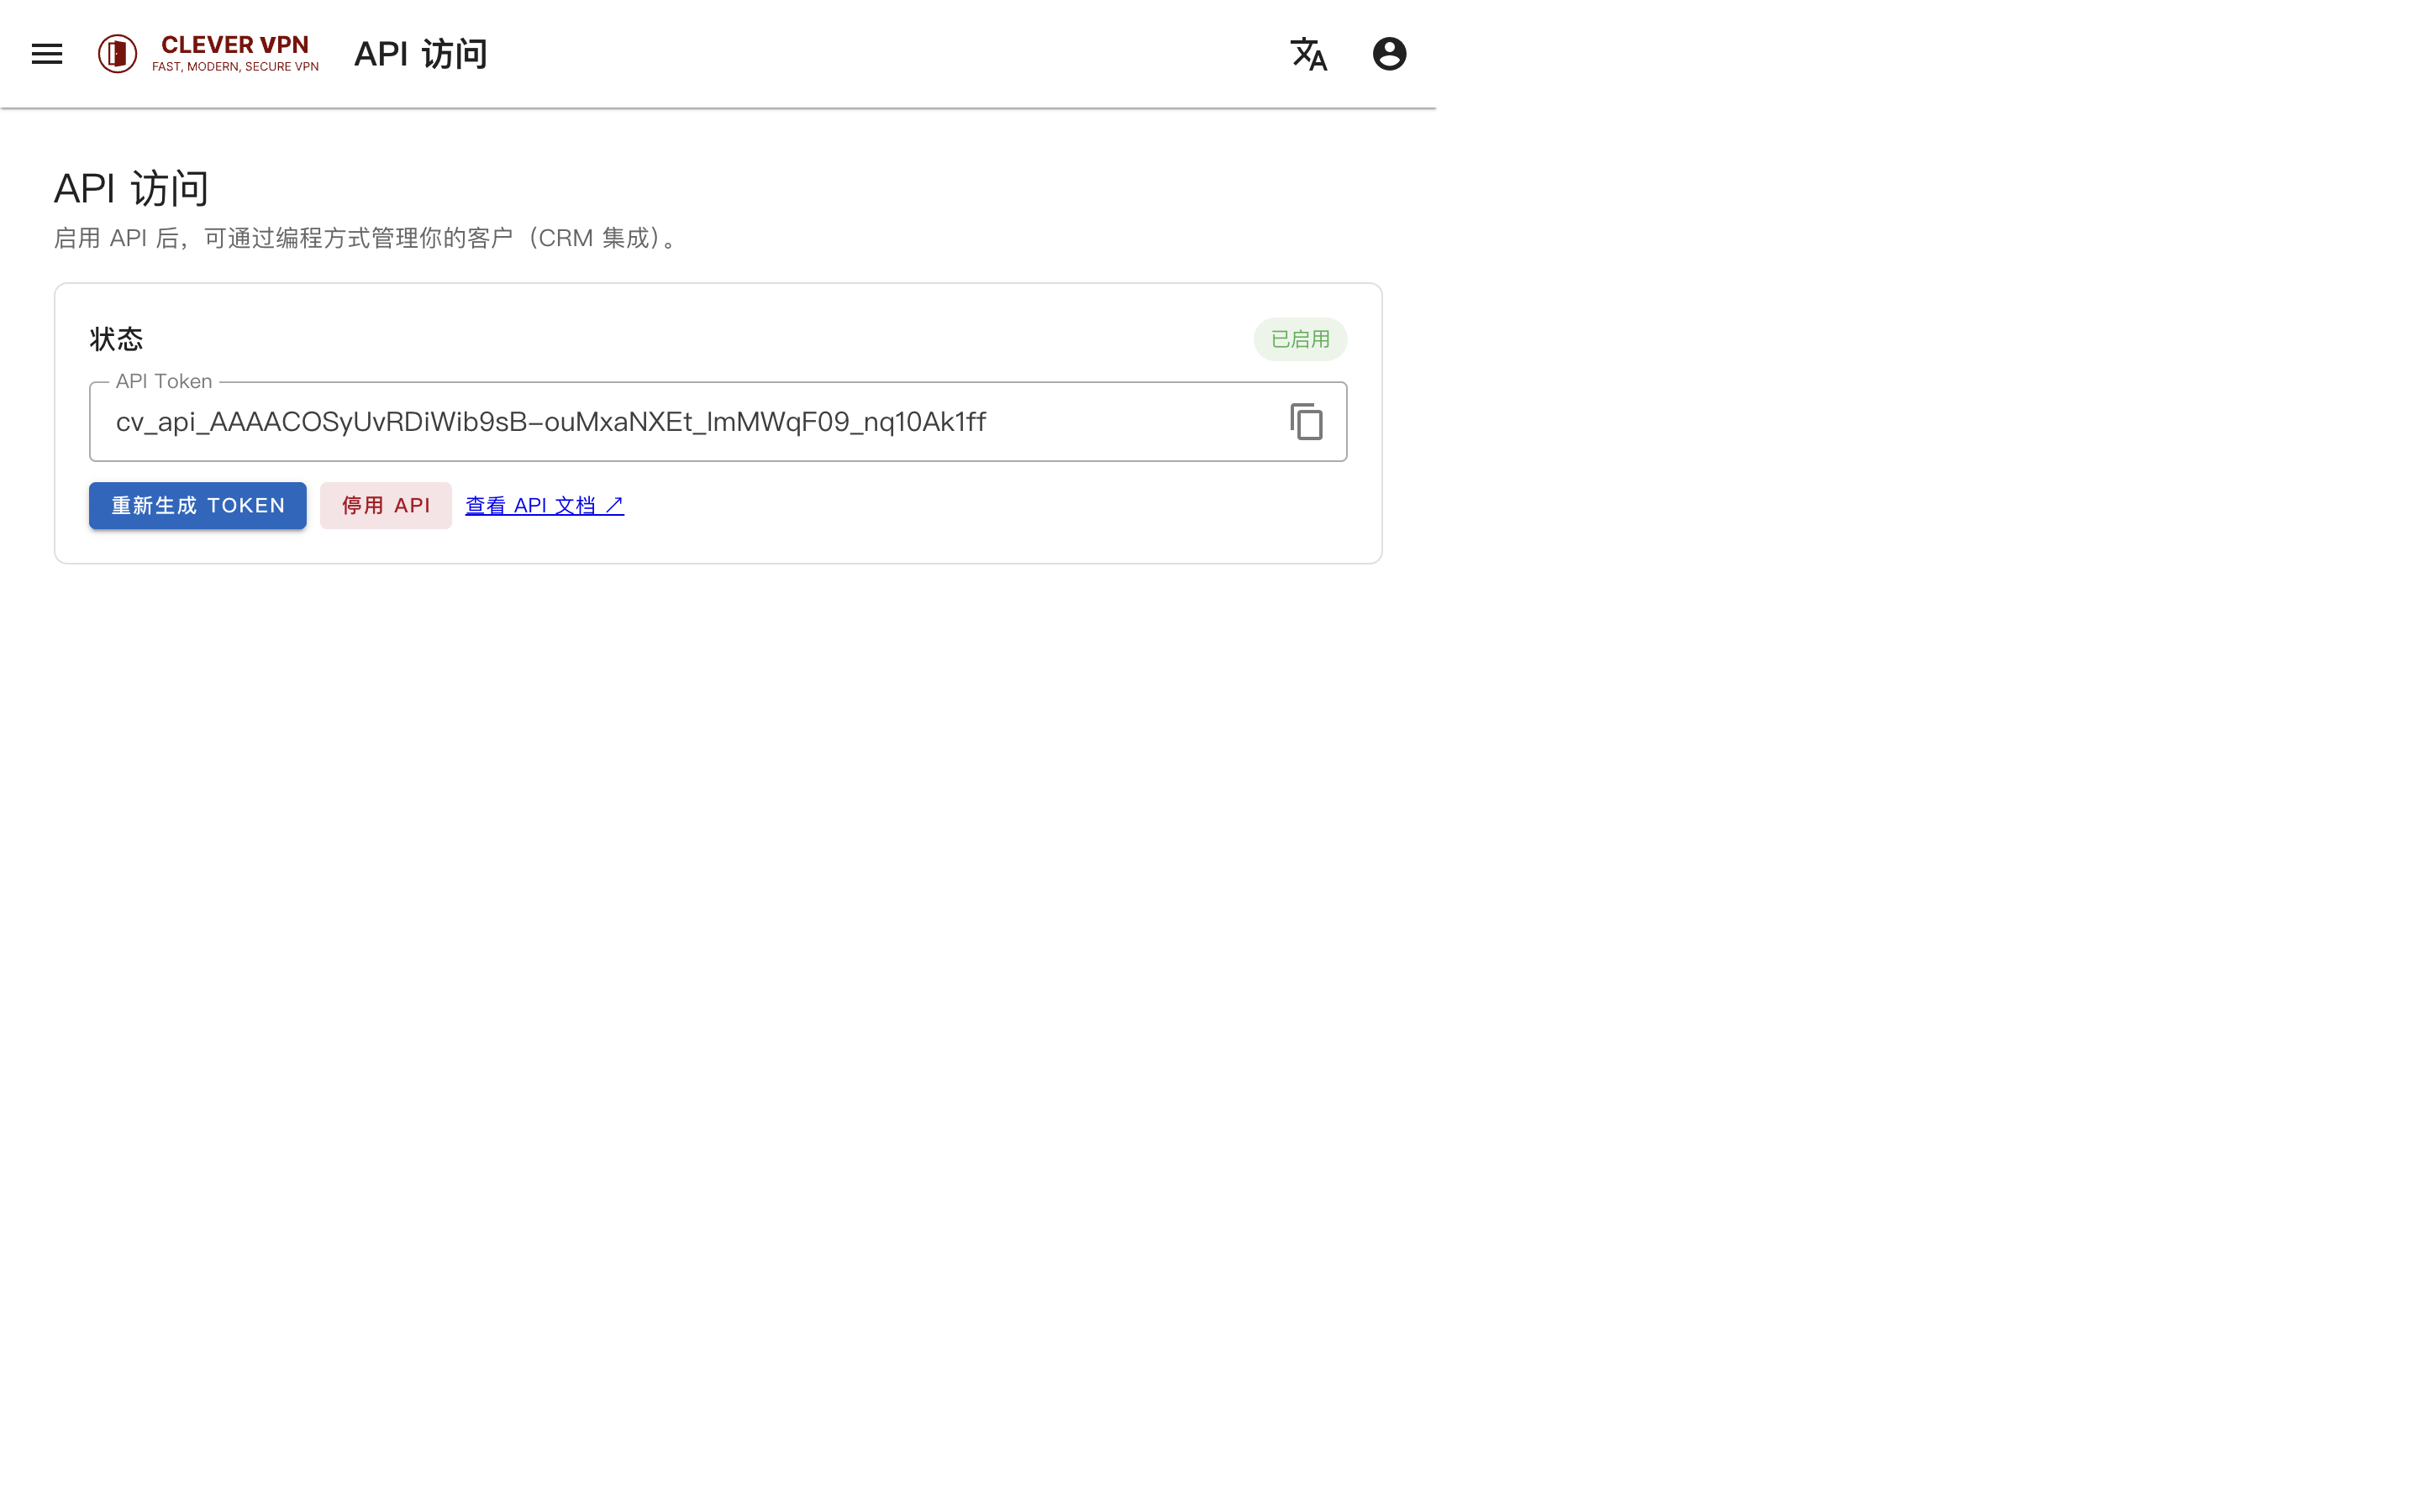
API Key
“Account → API Access” enables and generates an API token for external systems (e.g. your CRM) to manage customers programmatically. See the “API Reference” section for details.
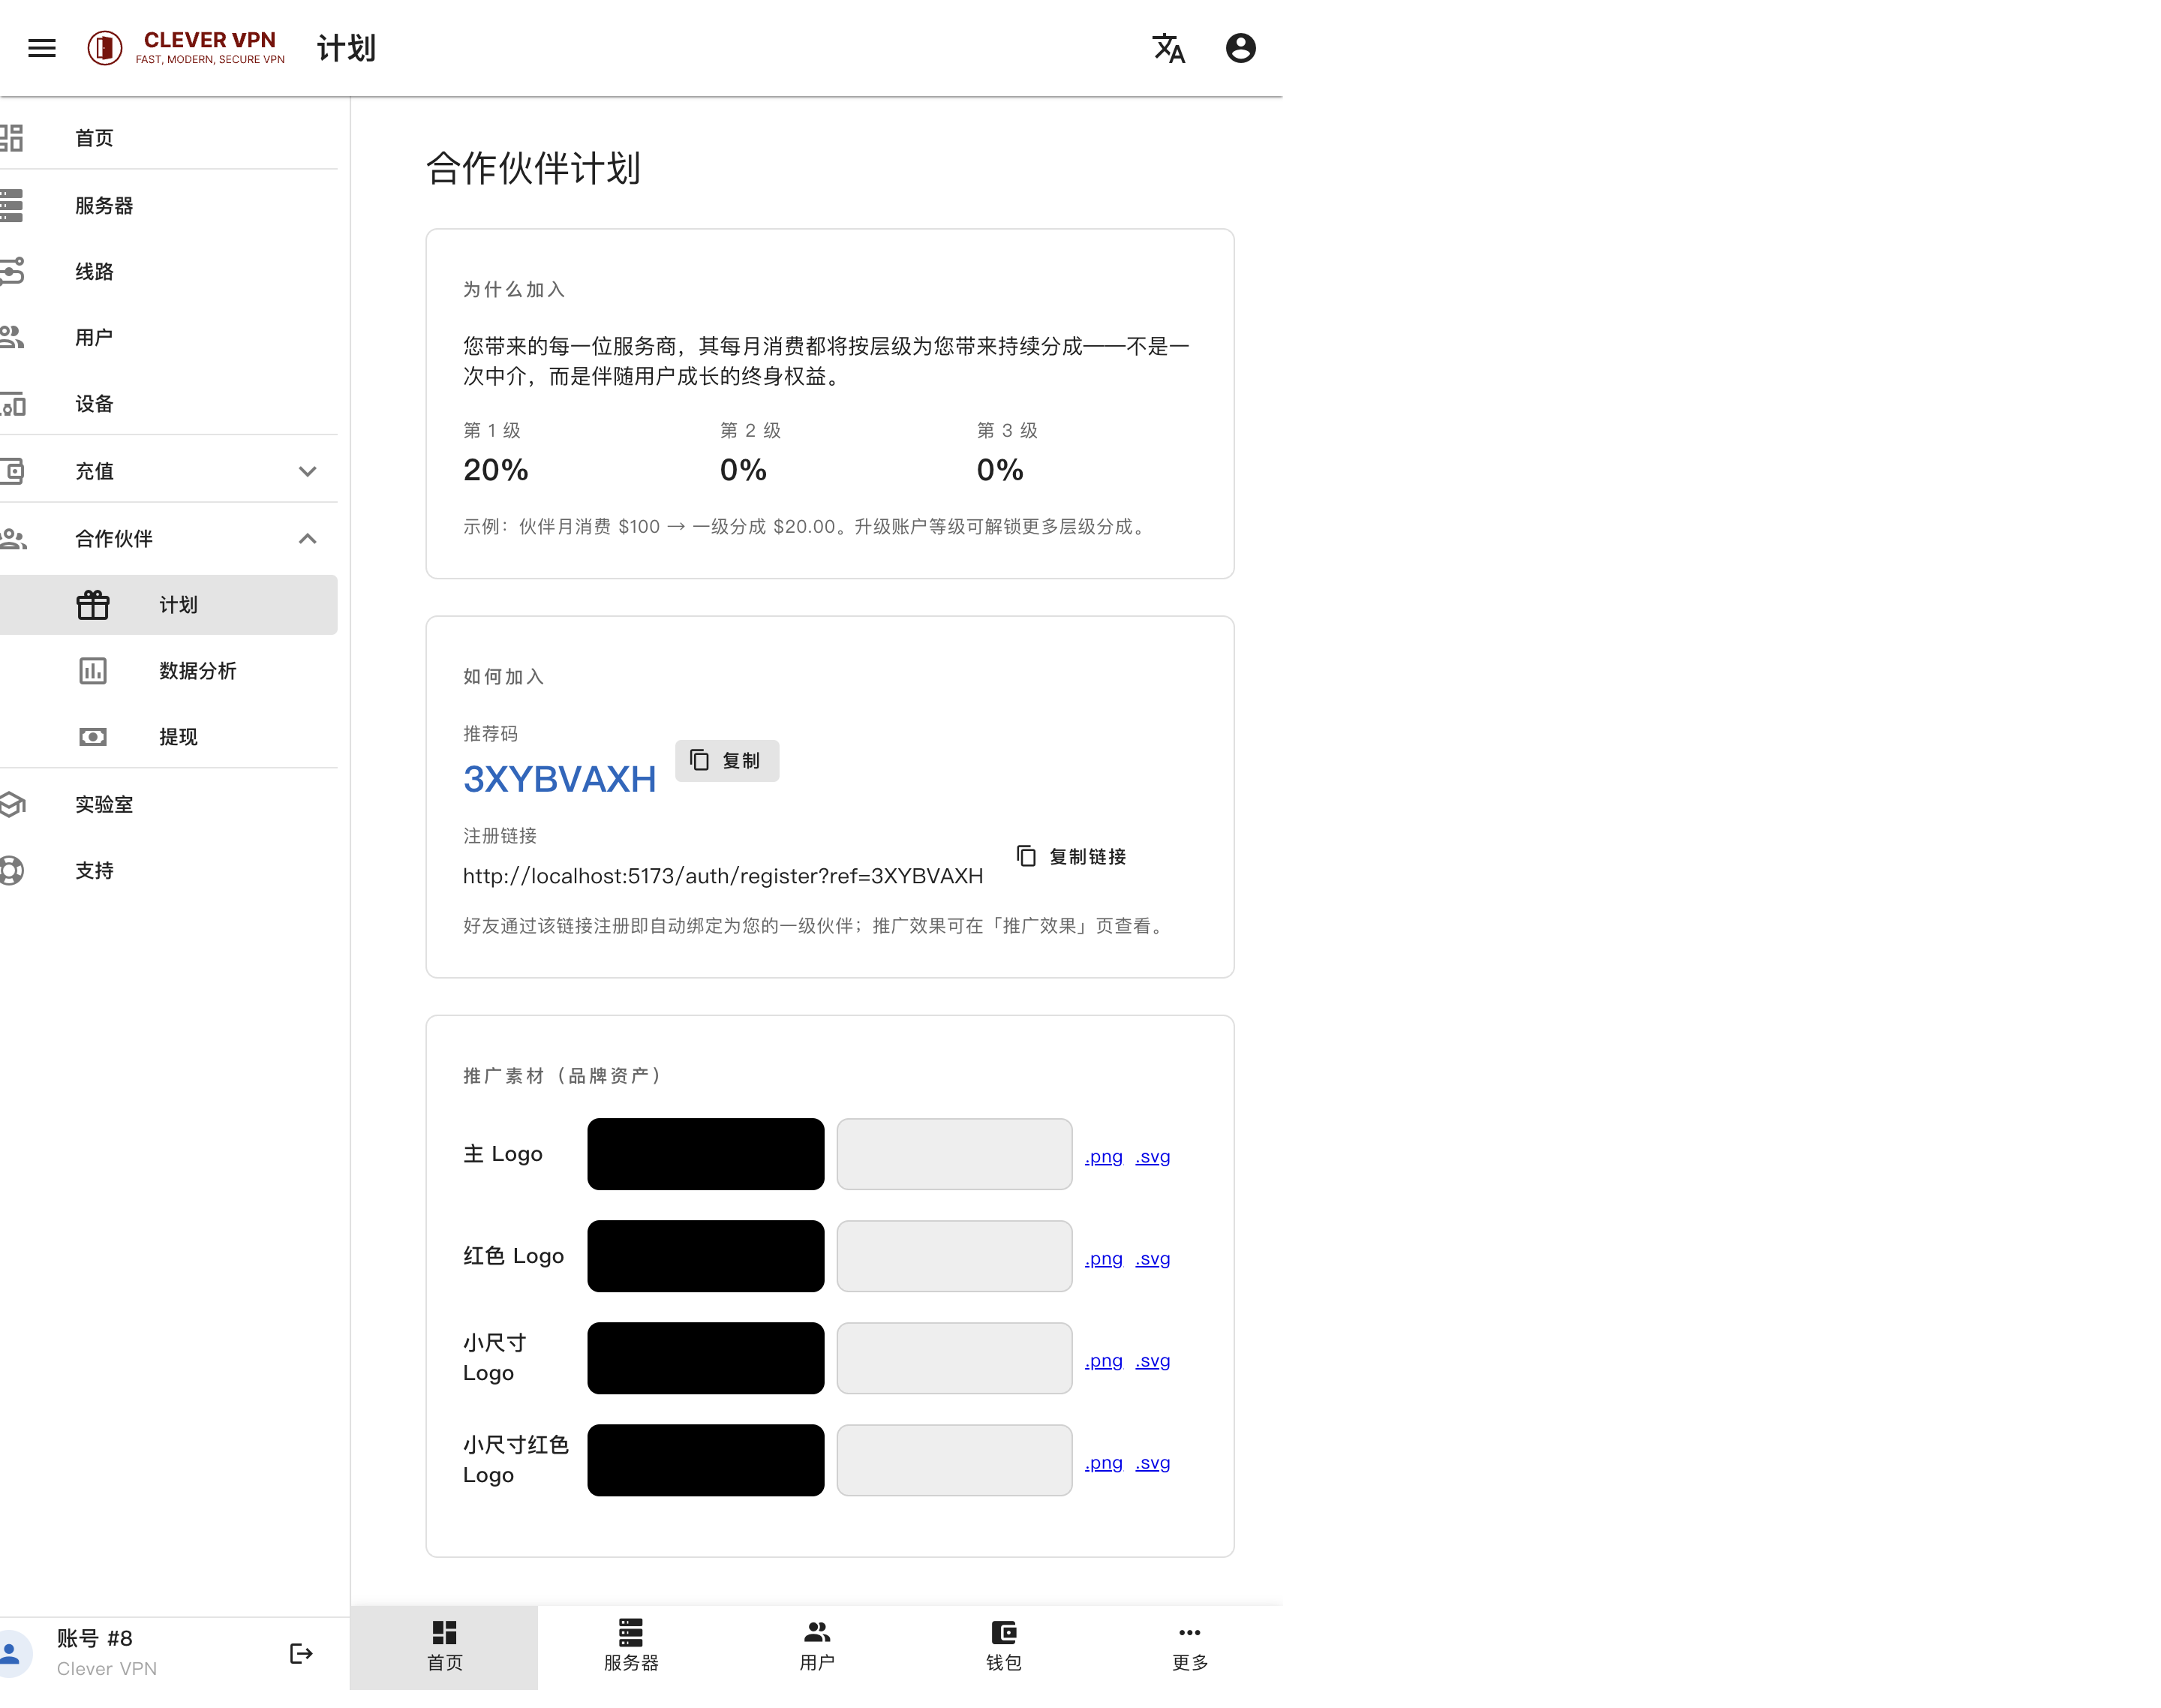
5. Referral Program (Partners)
Under “Partners”: share your exclusive referral link and earn recurring commissions (from 20%) on partner spending; view analytics and request payouts.
6. Top Up
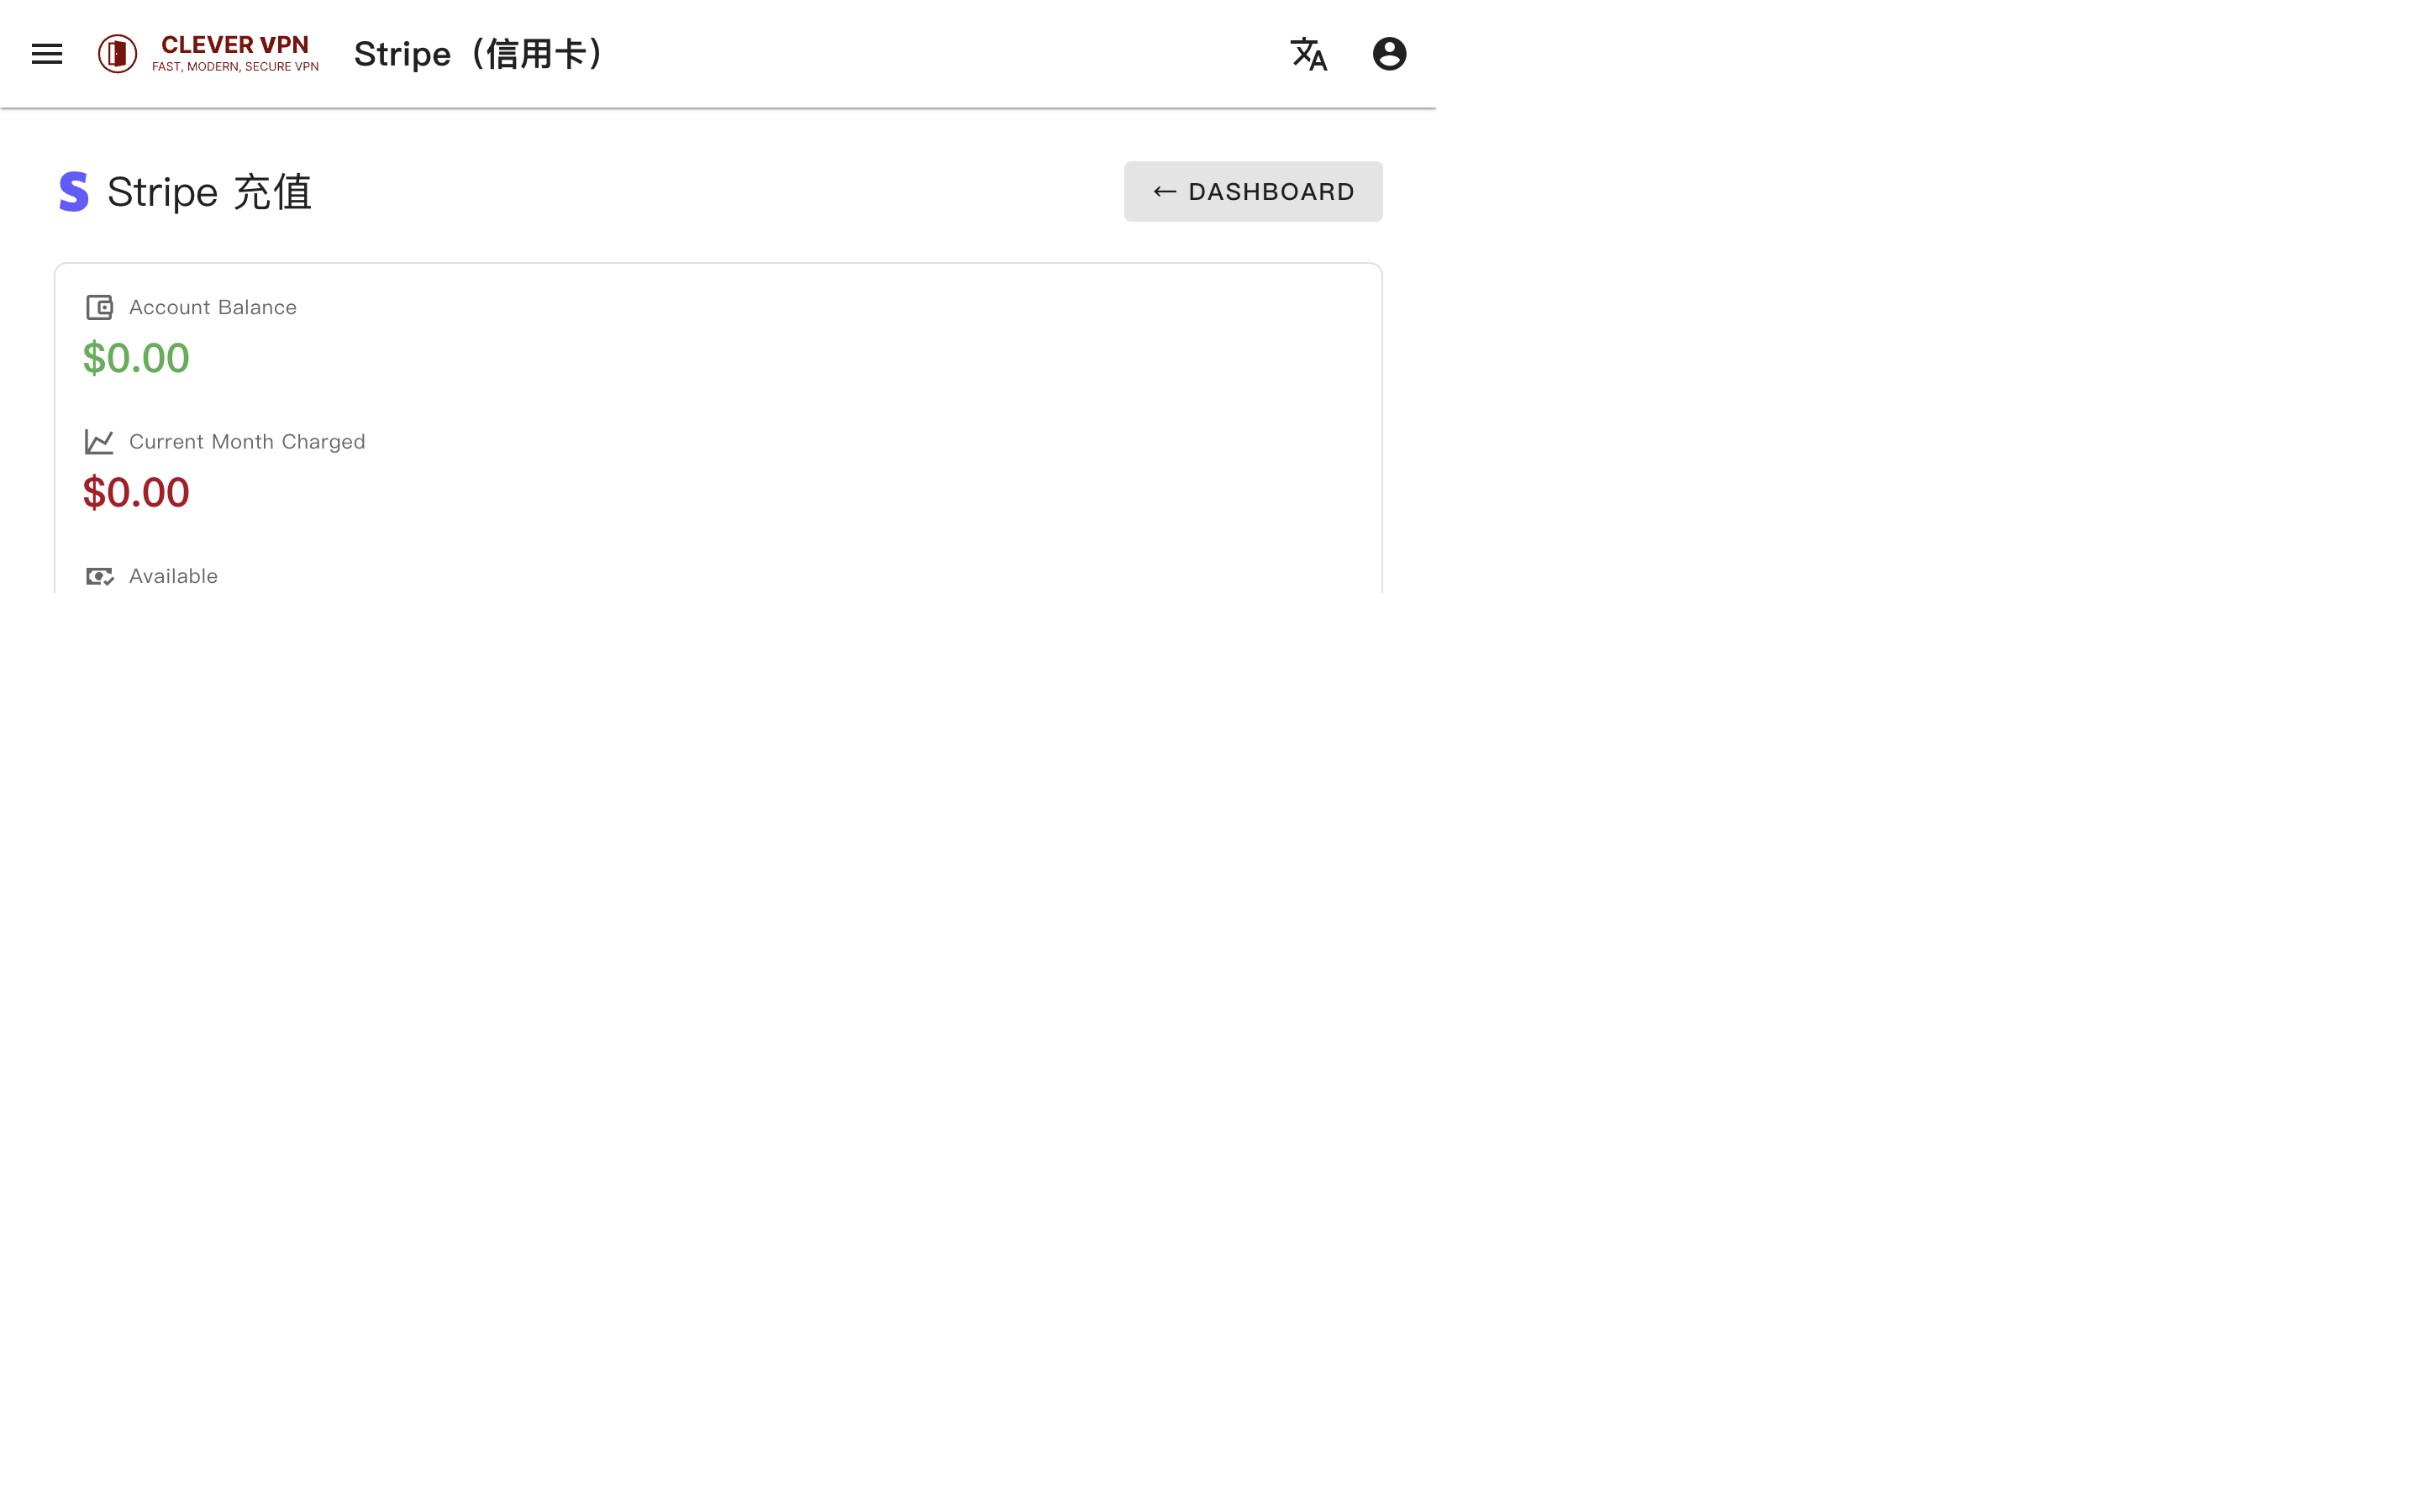
Under “Top Up”, pick a method: Stripe (cards), PayPal, CoinGate (crypto) or Gift card. Payments happen on the official secure page of each gateway — we never touch your sensitive data.
7. Case Study: From Beginner to $1,000/Month
Take 200 monthly users: $6/user/month, costs ≈ $1/user/month + $5/month VPS.
Monthly profit = 200 × ($6 − $1) − $5 = $995/month.
See the full workflow in the “Scenario Labs” section.